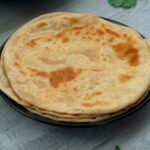
Roti (Chapati)
Experience the authentic taste of Indian Roti/Chapati, a staple flatbread that perfectly complements any meal. Delightfully soft and beautifully puffed, these Rotis pair wonderfully with a range of dishes, from veg korma to tikka masala, enhancing your breakfast, lunch, or dinner experience.
Ingredients
For Dough
- 2 cup Wheat Flour
- 2 tbsp Oil
- ¾ cup Water
- Salt as needed
For Making Chapati
- 2 tsp Oil for each piece
Instructions
Kneading and Preparing Dough
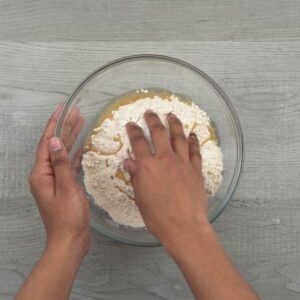
- Start by adding wheat flour to a deep bowl. Incorporate half of oil and salt, mixing well to ensure even distribution throughout the flour.
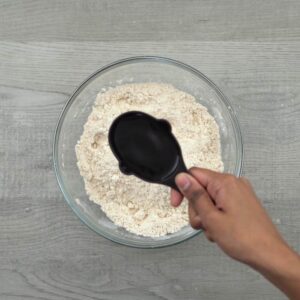
- Slowly pour in half a cup of water, using your hands to gently bring the flour together. This gradual mixing is crucial for avoiding lumps.
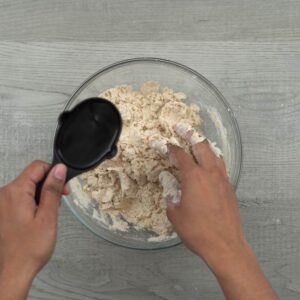
- Add the remaining quarter cup of water, continuing to mix by hand. Keep in mind that the total water needed may vary based on the flour's type and brand. Generally, a total of ¾ cup per 2 cups of wheat flour is sufficient, but you may need to adjust the amount slightly to achieve the right dough consistency.
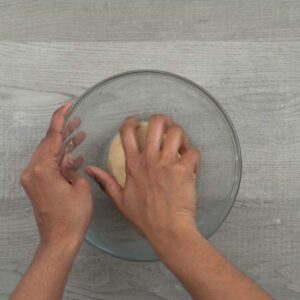
- Now, use your knuckles to knead the dough, applying moderate pressure. This step is key to developing gluten, which gives the Roti its structure. Knead for 5 to 7 minutes, or until the dough is soft and flexible. Proper kneading is essential for soft Rotis. Finally, drizzle remaining oil over the dough, ensuring it's evenly coated. This helps prevent the dough from drying out.
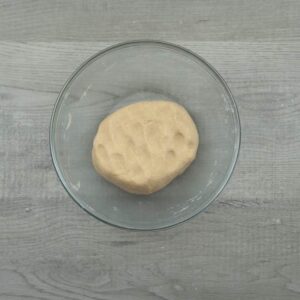
- Cover the bowl with a lid and let the dough rest for 15 minutes. This resting period allows the gluten to relax, making the dough easier to roll out later.
- After the resting period, remove the lid and check the dough. It should be notably soft at this point. Give it a final knead for approximately 2 to 3 minutes to achieve a consistent and uniform texture.
- Split the dough into equal portions. Roll each portion between your palms to form smooth, crack-free balls. This uniformity helps in even cooking.
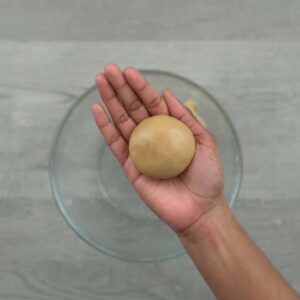
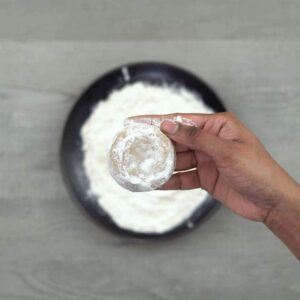
- Lightly dust each ball with dry flour, coating it on all sides. Then gently press down in the center to slightly flatten the dough, preparing it for rolling.
Making Roti/Phulka
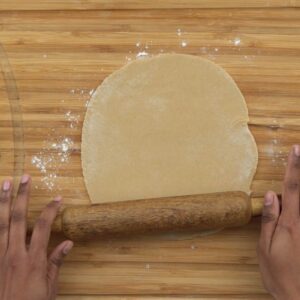
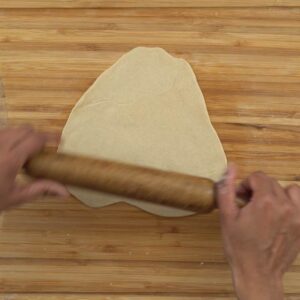
- Use a rolling pin to roll out the dough, starting from the center and moving outwards in a circular motion. Aim for a 5 to 6-inch diameter. If the dough becomes sticky during rolling, lightly dust it with more dry flour. This step is crucial for achieving the perfect thickness and preventing the dough from tearing.
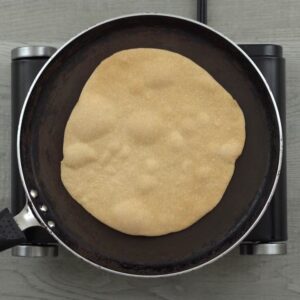
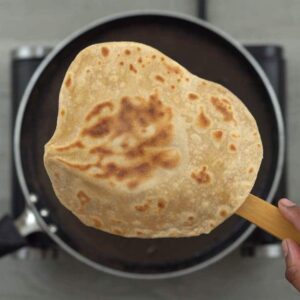
- Heat a Tawa or griddle over medium heat. An underheated Tawa can cause the Roti to cook slower, resulting in a harder texture. Place the rolled roti dough on it and cook until you see bubbles forming. Check for light brown spots forming on the bottom side of the roti using a tong, indicating it's time to flip.
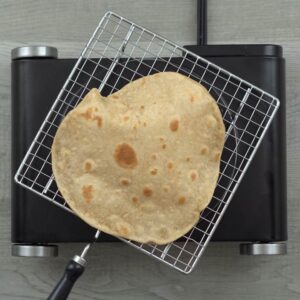
- Carefully lift the roti from the Tawa and place it on a phulka stand with the top side (the less cooked side) facing down. Keep the heat at a medium level. Watch as the roti begins to puff up from the heat.
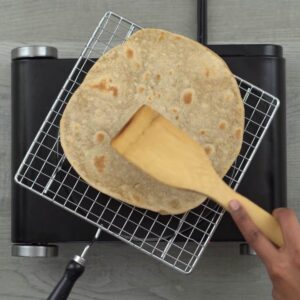
- Once puffed, remove the roti from the heat. For a crispier texture, you can briefly cook the other side as well. Your soft and delicious roti is now ready to be savored.
Making Chapati
- For Chapathi, start by rolling the dough from the center. Then, apply 1 teaspoon of oil over the surface, fold it into a triangular shape, and continue rolling evenly. This method gives Chapathi its characteristic layered texture.
- Place the rolled triangular dough on a preheated Tawa and drizzle 1 teaspoon of oil if desired. Cook it evenly on both sides, looking for brown spots to appear, which indicate that the Chapati is properly cooked. Enjoy the warm, freshly made Chapati as a versatile accompaniment to a variety of dishes.
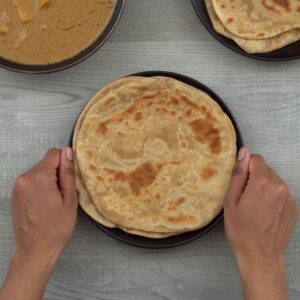
Serving
- Enjoy your freshly made Chapati as a delightful accompaniment to a variety of dishes. For more creative pairing ideas, refer to the serving suggestions section to enhance your meal experience.
Notes
Making Roti and Chapati involves a series of crucial steps, each contributing to the final soft and delicious result. Here are some key tips to ensure you get the best out of this recipe:
Dough Preparation and Consistency:
- Water Temperature: Use lukewarm water for kneading the dough. It helps in making the dough softer and more pliable, leading to softer Rotis.
- Dough Consistency: The dough should be soft but not sticky. If it's too dry, add a little more water; if it's too sticky, add a bit more flour. The right consistency is key to easy rolling and cooking.
- Portion Size: Keep your dough balls uniform in size. This helps in rolling out Rotis that are consistent in size and thickness, ensuring they cook evenly.
- Storing the Dough: If you're making the dough in advance, cover it with a damp cloth and store it in the refrigerator to keep it fresh. Bring it to room temperature before rolling and cooking.
Rolling, Cooking, and Flavoring Techniques:
- Rolling the Dough and Technique: Aim for an even thickness while rolling the dough from the center outwards. Ensure the dough is neither too thick nor too thin for uniform cooking. Be mindful to apply gentle pressure; too much can result in dense Rotis.
- Heat Adjustment: While cooking the Roti on the Tawa, adjust the heat as needed. If the Roti cooks too quickly, it might not puff up properly. If it cooks too slowly, it can become hard.
- Puffing Up: For the puffing process, some people use a cloth or a spatula to gently press the Roti on the Tawa, encouraging it to puff up evenly.
- Experiment with Flavors: Feel free to add herbs or spices to the dough for an extra flavor kick. Ingredients like carom seeds (ajwain), cumin seeds, or dried fenugreek leaves (kasuri methi) can add a delightful twist.
- Practice Makes Perfect: Don't be discouraged if your first few Rotis aren’t perfect. Each attempt is a learning experience.
Nutrition
Serving: 1serving | Calories: 96kcal | Carbohydrates: 16g | Protein: 2g | Fat: 3g | Saturated Fat: 0.2g | Polyunsaturated Fat: 1g | Monounsaturated Fat: 1g | Trans Fat: 0.01g | Sodium: 1mg | Potassium: 22mg | Fiber: 1g | Sugar: 0.1g | Calcium: 4mg | Iron: 1mg