
Apple Pie
Savor the sweet, warm, and flaky flavors of apple pie. With a homemade pie crust and perfectly seasoned apples, this dessert is perfect for holiday gatherings like Thanksgiving or Christmas. It’s also a cozy treat to enjoy with a cup of coffee or tea any time of year.
Ingredients
- 6 medium size Green Apples peeled and sliced
- 2 Pie Crust homemade or store-brought ( 1 for bottom and 1 for top)
- 1 tbsp Lemon Juice
- ½ cup Brown Sugar
- ½ cup Granulated Sugar
- 1 tsp Ground Cinnamon
- ¼ tsp Ground Nutmeg
- 3 tbsp All Purpose Flour
- 1 Egg for egg wash
Instructions
Preparing Apple Filling
- Start by washing the apples under running water to remove any dirt or residue. Pat them dry with a clean kitchen towel to remove excess moisture. For a smooth, classic texture, peel the apples with a peeler. Peeling helps the apples blend seamlessly into the filling, giving you that tender bite we all love in an apple pie. If you prefer a rustic feel or enjoy the texture and nutrients of the apple skin, you can skip peeling.
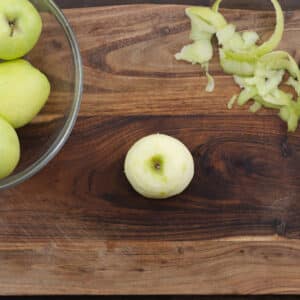
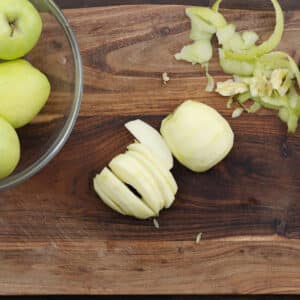
- After peeling, remove the stems and use a corer or knife to take out the seeds. Cut the apples in half, then slice each half into medium-sized, even slices. This helps the apples cook evenly, so the filling turns out perfectly tender without any undercooked or mushy bits.
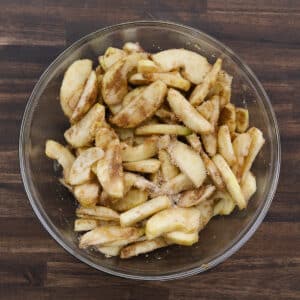
- Place the sliced apples in a large mixing bowl. Add the lemon juice, brown sugar, granulated sugar, ground cinnamon, and nutmeg. Gently toss the slices until they are evenly coated. The sugars and spices bring out the best in the apples and add those warm, cozy flavors that make apple pie so special.
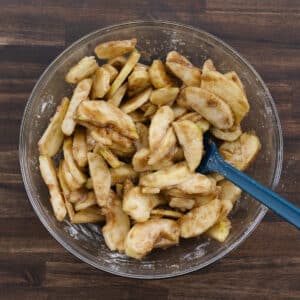
- Sprinkle the all-purpose flour over the seasoned apple slices and mix gently. The flour thickens the juices released by the apples as they bake, giving the filling a smooth, saucy texture that holds everything together. This step also helps prevent the pie from becoming too runny.
Preparing the Crust
- Roll the first pie dough into a 12-inch circle for the bottom crust. I’m using my homemade pie dough for this recipe, but store-bought works too if you prefer. If you’d like to make your crust from scratch, check out my detailed post on homemade pie crust—it includes step-by-step guidance. The recipe makes two crusts, which is perfect for this apple pie.
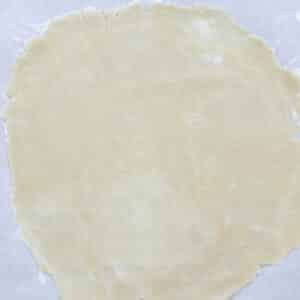
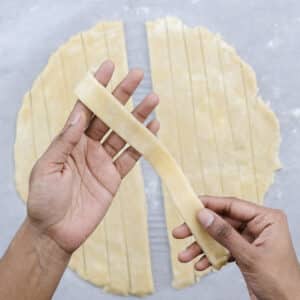
- Take the second pie dough and roll it into a 10-11 inch circle. Use a pizza cutter or a knife to slice the dough into even strips. For a neat lattice design, aim to keep the strips consistent in width. I ended up with 13 strips, but the exact number may vary based on the width of your cuts. Set the strips aside for later—they’ll be used to decorate the top of your pie once the filling is added.
Assembling Apple Pie
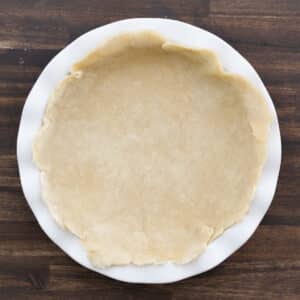
- Carefully place the rolled-out bottom crust into your pie dish, pressing it gently into the corners to make sure it fits snugly. This step helps create a solid base for the apple filling and prevents air pockets that could affect the structure of the pie.
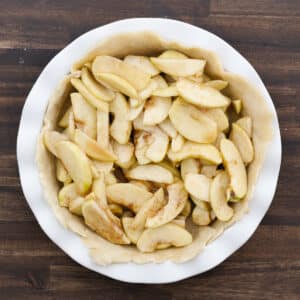
- Add the prepared apple filling to the crust, spreading it out evenly. If there’s any excess liquid from the apples, drain it before adding. Too much liquid can make the bottom crust soggy as it bakes. Draining the liquid helps the pie hold its structure and gives you a perfectly baked crust.
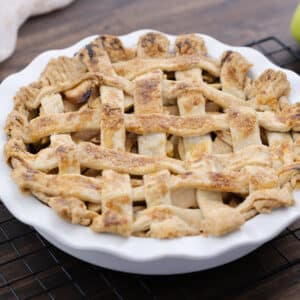
- Lay the strips of dough loosely over the apple filling, arranging them parallel to each other and leaving some space in between. Start by placing the longest strips in the center and use the shorter ones toward the edges. This arrangement helps the lattice design look balanced and even. Be sure to reserve enough long strips for the perpendicular rows to complete the weave.Note: I’ve provided clear instructions below to guide you through making the lattice design. If you’re still unsure, don’t worry—check out our video tutorial below and revisit this section anytime for reference.
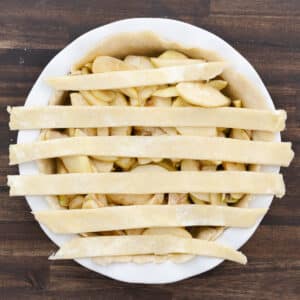
- Begin the lattice pattern by folding back every other strip of dough. Lay a long strip of dough across the center in the opposite direction. This step anchors your lattice and makes it easier to keep the design neat.
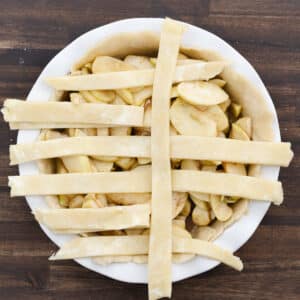
- Unfold the strips that were folded back so they lay over the newly placed strip. Then, fold back the alternating strips that were previously underneath the new strip. Lay another strip of dough next to the first, parallel to it, and repeat the process of folding back and placing strips. This creates the lattice pattern as you work outward toward the edge of the pie.
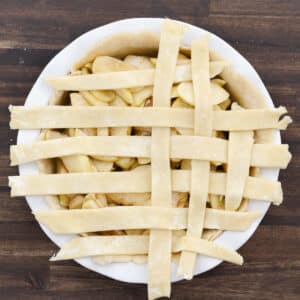
- Move to the other side of the pie and repeat the same process. Start in the center and work outward, placing strips perpendicular to the initial ones. Alternate folding and laying strips until the entire pie is covered with an even lattice pattern.
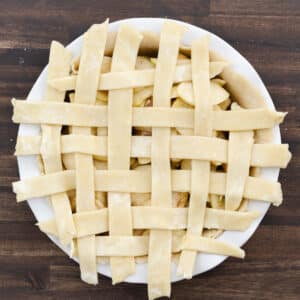
- After finishing the lattice, fold the edges of the strips and the bottom crust together to seal them. Press them gently but firmly to ensure they are well secured.
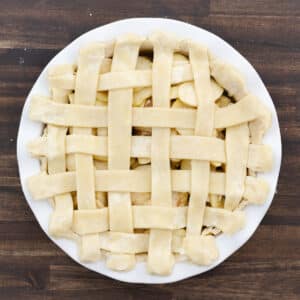
- Use a fork to crimp the edges. This adds a decorative finish and helps keep the crust sealed tightly, which prevents the filling from leaking during baking.
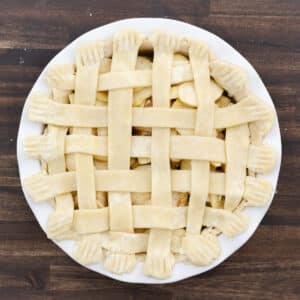
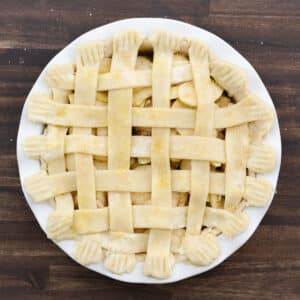
- Brush the top of the lattice with egg wash for a golden, shiny finish. For added crunch and sweetness, sprinkle coarse sugar on top before baking.
Baking Apple Pie
- Preheat your oven to 400°F (200°C) and bake the assembled pie for the first 25 minutes. Baking at this high temperature helps the filling start to set and gives the crust a good initial bake.
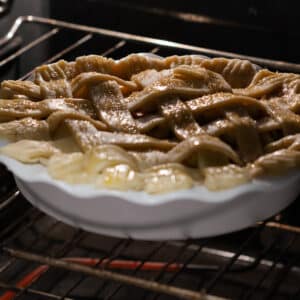
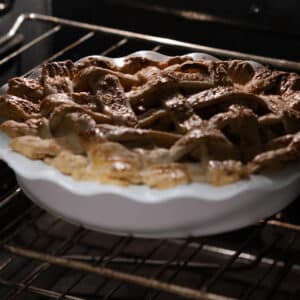
- After 25 minutes, reduce the oven temperature to 375°F (190°C) and continue baking for another 30–35 minutes. Bake until the crust turns golden brown, flaky, and the juices start bubbling through the lattice or slits. These visual cues indicate the pie is perfectly baked.Once done, carefully remove the pie from the oven and place it on a wire rack to cool to room temperature. Cooling allows the filling to thicken, making it easier to slice without spilling over. Rushing this step might result in a runny pie, so patience is key.
Serving
- Serve this apple pie as a snack or after-meal dessert. Top it with caramel sauce, vanilla ice cream, or whipped cream for an extra touch of sweetness. For more pairing ideas, take a look at the serving suggestions section below.
Notes
Here are some essential tips to help you make the perfect apple pie every time:
- Choose the Right Apples: Apples are the star of this dessert, so choosing the right variety is key. For the best texture and flavor, go for tart apples like Granny Smith. They balance the sweetness of the sugar and hold their shape well during baking. For a mix of tart and sweet flavors, combine Granny Smith with sweeter apples like Honeycrisp or Fuji.
- Pie Crust: A flaky, buttery crust makes all the difference. I recommend using my homemade pie crust recipe, which comes with a detailed guide and troubleshooting tips. If you’re short on time, store-bought pie dough works too. Just follow the package instructions for the best results.
- Chill Your Dough: Chilling the pie dough for at least 2 hours before rolling it out is crucial. Cold dough holds its structure better and helps create a flaky crust. It also prevents the butter from melting too quickly during baking, which can cause the crust to shrink or lose its texture.
- Prevent a Soggy Bottom: Nobody likes a soggy bottom crust! To avoid this, drain the excess juice from the apple pie filling before adding it to the crust. The juices released during baking can make the bottom crust overly wet if not handled properly. You can use the drained juice to lightly brush over the top crust along with the egg wash, adding both flavor and a shiny, golden finish.
- Vent the Top Crust: If you’re using a lattice top, it naturally vents steam while baking. If you’re using a solid top crust, remember to cut slits to let steam escape. This prevents the filling from becoming too runny.
- Use a Pie Shield: The edges of the crust often brown faster than the rest of the pie. To protect them, use a pie shield or make one by folding a piece of aluminum foil into a ring. Place it around the edges before baking to shield them from direct heat. Remove the shield during the last 15–20 minutes of baking to let the edges turn a beautiful golden brown.
- Check for Doneness: To know if your pie is perfectly baked, use an instant-read thermometer to check the center. When the filling reaches 195°F (90°C), the apples are tender, the filling is set, and the crust is fully baked. This step takes the guesswork out and helps you bake the pie thoroughly without overbaking.
- Pie Dish Size: Using the right pie dish is just as important as the filling and crust. A 9-inch dish that’s about 2 inches deep works perfectly for this recipe. Roll out the bottom crust to at least 12 inches in diameter so there’s enough dough to cover the dish and seal the edges with the top crust. This gives you a neat, professional-looking finish.
Nutrition
Serving: 1serving | Calories: 385kcal | Carbohydrates: 68g | Protein: 4g | Fat: 12g | Saturated Fat: 4g | Polyunsaturated Fat: 2g | Monounsaturated Fat: 5g | Trans Fat: 0.003g | Cholesterol: 20mg | Sodium: 187mg | Potassium: 220mg | Fiber: 5g | Sugar: 40g | Vitamin A: 105IU | Vitamin C: 7mg | Calcium: 34mg | Iron: 2mg
Visit the Recipe
Want to view the full post? Simply scan the QR code with your camera and tap the link.
