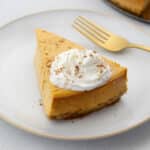
Pumpkin Cheesecake
Enjoy fall with this Pumpkin Cheesecake! It’s a creamy mix of cream cheese and pumpkin puree, flavored with warm spices. The base is a graham cracker crust with brown sugar and cinnamon, making it a perfect dessert for festivals, gatherings, and potlucks.
Ingredients
For the Crust
- 12 Graham Crackers finely crushed
- 1 tbsp Brown Sugar
- 7 tbsp Unsalted Butter melted
- ½ tsp Cinnamon Powder
For the Cheesecake Filling
- 1¾ cup Pumpkin Puree
- ¼ cup Sour Cream
- 4 Eggs at room temperature
- ½ tsp Salt or to taste
- 1½ tsp Pumpkin Pie Spice
- 2 tbsp All Purpose Flour
- 1 tbsp Vanilla Essence
- 24 oz Cream Cheese
- 1½ cups Brown Sugar light or dark
Toppings
- Toasted Pecans
- Caramel Sauce
- Whipped Cream homemade or store-brought
Instructions
Making the Crust
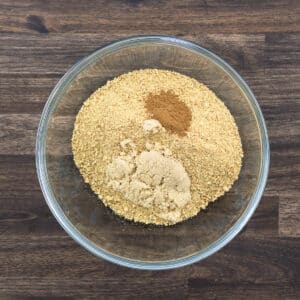
- In a mixing bowl, add the crushed graham crackers, brown sugar, and cinnamon powder. Stir these ingredients thoroughly to make sure the sugar and spices are evenly mixed with the crumbs.
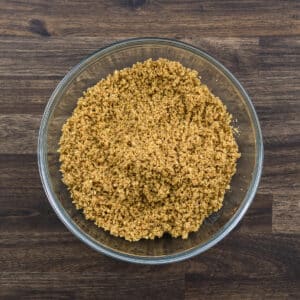
- Slowly pour in the melted butter while stirring the mixture. Mix until all the crumbs are evenly moistened and hold together when pressed between your fingers. This helps the crust stay firm and prevents it from crumbling after baking.
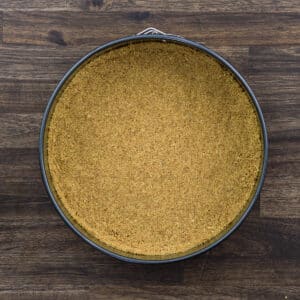
- Transfer the graham cracker mixture into a 9-inch springform pan. Use the back of a spoon or a flat-bottomed cup to press the crumbs firmly into the bottom and about 1 inch up the sides of the pan. This helps hold the cheesecake filling and prevents cracks. Make sure the crust is tightly packed to prevent it from crumbling when sliced.Preheat your oven to 350°F and bake the crust for 8-10 minutes. Baking sets the crust, making it crisp and enhancing its flavor. Remove it from the oven and let it cool completely to room temperature before adding the filling. This prevents the filling from melting into the crust.
Making Pumpkin Cheesecake Filling
- In a mixing bowl, combine the pumpkin puree, sour cream, eggs, all-purpose flour, vanilla essence, pumpkin pie spice, and a pinch of salt. These ingredients form the base of the cheesecake filling.
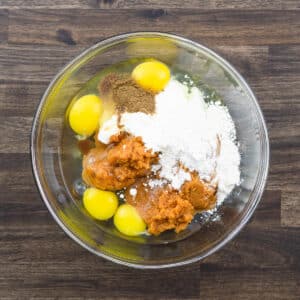
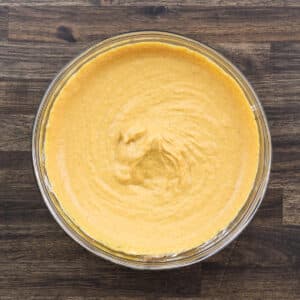
- Whisk everything together until the mixture is smooth and no lumps remain. Make sure the eggs are fully incorporated, as they help bind the filling during baking. Set this mixture aside for later.
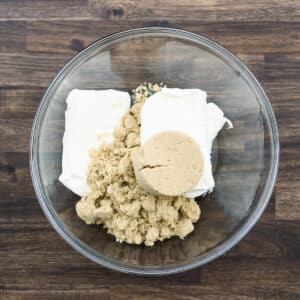
- In another bowl, add the softened cream cheese and brown sugar. Softening the cream cheese beforehand makes it easier to beat and helps achieve a smooth texture.
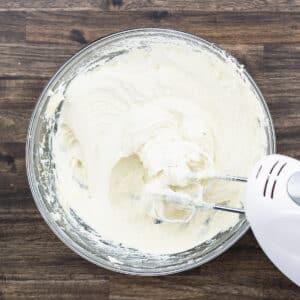
- Use an electric beater at medium speed to beat the cream cheese and sugar until the mixture turns light and fluffy. This step is key to achieving a creamy and smooth cheesecake filling. Scrape down the sides of the bowl as needed to make sure everything is evenly mixed.
- Gradually pour the prepared pumpkin mixture into the cream cheese mixture. Use the lowest speed setting on the beater to gently mix until the ingredients are fully combined. Avoid overmixing, as this can introduce too much air, which may cause cracks in the cheesecake during baking.
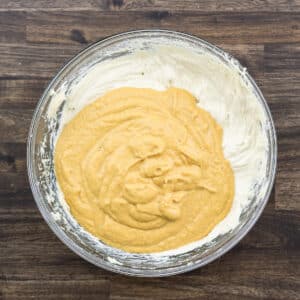
Baking the Crust with Fillings
- Pour the pumpkin cheesecake mixture onto the pre-baked crust and spread it evenly with a spatula. Make sure the surface is smooth, as this will give your cheesecake a polished finish once baked.
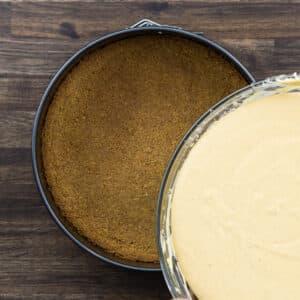
- Place a roasting rack or an aluminum foil coil stand in a baking tray to elevate the springform pan, as shown in the picture. This keeps the pan above the water, allowing the steam to create a gentle baking environment that evenly distributes heat. It helps prevent the cheesecake from cooking too quickly, reducing the chances of cracks or a burnt crust.
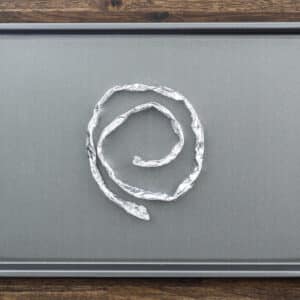
- Place the springform pan with the cheesecake on the rack inside a preheated oven at 350°F. Carefully pour boiling water into the baking tray until it’s about ½ inch deep, taking care not to let water seep into the springform pan. Bake for 45 minutes to 1 hour, or until the edges are set and the center slightly springs back when touched. The water bath creates a gentle, moist baking environment, preventing the top of the cheesecake from browning or cracking.Once done, turn off the oven, leave the door slightly open, and let the cheesecake rest for 45 minutes. This gradual cooling prevents sudden temperature changes that can cause cracking. Remove it from the oven, cool it to room temperature, then cover it with plastic wrap and refrigerate for 6-8 hours or overnight to fully set.
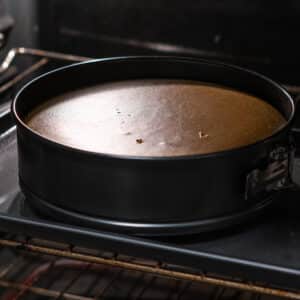
- After chilling, remove the plastic wrap and gently run a butter knife around the edges of the springform pan to loosen the cheesecake. Carefully release the pan, and if needed, run the knife along the bottom of the crust to help it come away cleanly when slicing into individual pieces. Top the cheesecake with toasted pecans and a sprinkle of pumpkin pie spice to enhance the flavor and add a decorative touch. Your Pumpkin Cheesecake is now ready to serve and enjoy!
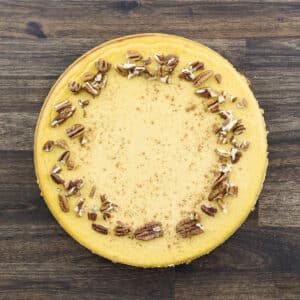
Serving
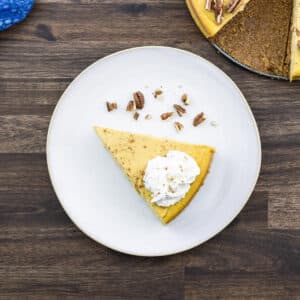
- Serve the Pumpkin Cheesecake with optional toppings like caramel sauce or whipped cream to enhance its flavor and sweetness. For more pairing ideas, take a look at our Serving Suggestions below.
Notes
Here are some essential tips to help you make the perfect Pumpkin Cheesecake:
- Room Temperature Ingredients: Use ingredients like pumpkin puree, eggs, cream cheese, and butter at room temperature. This helps with smooth mixing and prevents lumps. Let them sit at room temperature naturally instead of quick-heating methods like microwaving, which can change their texture.
- Gentle Egg Mixing: When adding eggs, mix them gently. Avoid overbeating, as it can add too much air, which might cause cracks during baking. Add the eggs to the pumpkin mixture and whisk just until combined for a moist, crack-free cheesecake.
- Pumpkin Puree: Use either homemade or store-bought 100% pure pumpkin puree. Avoid pumpkin pie mix, as it contains added spices and sweeteners that may alter the flavor balance.
- Softening Cream Cheese: Take the cream cheese out of the fridge 30 minutes to 1 hour before using it to let it come to room temperature naturally. This helps it blend smoothly with other ingredients and prevents lumps in the batter. For faster softening, cut the cream cheese into smaller pieces and spread them out on a plate. Avoid microwaving, as it can unevenly soften or melt the cream cheese, leading to an inconsistent batter.
- Preventing Cracks: To avoid cracks, don’t skip the water bath and allow the cheesecake to cool gradually. Sudden temperature changes can cause cracking, so it’s important to let it rest in the oven with the door slightly open.
- Room Temperature Before Serving: Let the cheesecake sit at room temperature for about 15 minutes before slicing for a cleaner cut and better texture.
- Perfect Slices: Use a sharp knife dipped in warm water to slice the cheesecake. After each cut, wipe the knife clean with a damp cloth or paper towel to keep the slices neat and professional-looking. This helps achieve smooth, clean edges without crumbs or filling sticking to the knife.
- Make It Ahead: Cheesecake often tastes better the next day as the flavors have more time to develop. Consider making it a day before your event for the best taste and texture.
Nutrition
Serving: 1serving | Calories: 571kcal | Carbohydrates: 56g | Protein: 8g | Fat: 36g | Saturated Fat: 20g | Polyunsaturated Fat: 2g | Monounsaturated Fat: 10g | Trans Fat: 0.3g | Cholesterol: 159mg | Sodium: 481mg | Potassium: 293mg | Fiber: 2g | Sugar: 41g | Vitamin A: 7963IU | Vitamin C: 2mg | Calcium: 140mg | Iron: 2mg
Visit the Recipe
Want to view the full post? Simply scan the QR code with your camera and tap the link.
