
Samosa Recipe
Samosas are a crispy, flaky snack beloved in Punjabi cuisine, typically stuffed with fillings such as potatoes, meat, or vegetables, and fried to golden perfection. A favorite across India, samosas pair wonderfully with dips like mint, coriander, tamarind, or mango chutney and are perfect alongside a cup of masala chai. They make an excellent snack for parties and gatherings.
Ingredients
For Samosa Dough
- 2 cup All-Purpose Flour
- ½ tsp Ajwain carom seeds
- ½ tsp Salt
- ½ cup Water
- ¼ cup Oil
For Samosa Filling
- 4 Boiled Potatoes mashed
- ¼ cup Oil
- 1 tsp Cumin Seeds
- 3 Green Chili chopped
- ¼ cup Onion sliced
- 1 tbsp Ginger Garlic Paste
- ½ tsp Turmeric Powder
- 1 tsp Chili Powder
- 1 tsp Coriander Powder
- Salt to taste
- 1 tsp Kasoori Methi Leaves
- ¼ cup Coriander Leaves
For Deep Frying
- Oil as needed
Instructions
Making Samosa Dough
- In a large mixing bowl, whisk together all-purpose flour, ajwain seeds, and a pinch of salt to evenly distribute the flavors.
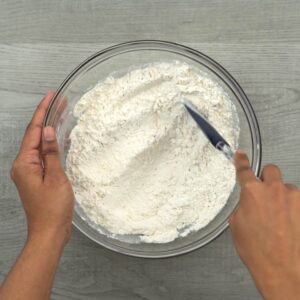
- Pour oil into the bowl. Mix it thoroughly with the flour mixture until it resembles coarse crumbs and the dough holds together when pressed.
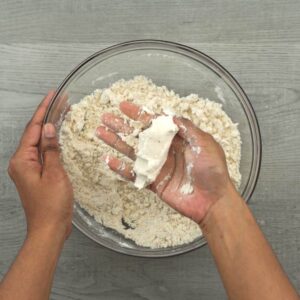
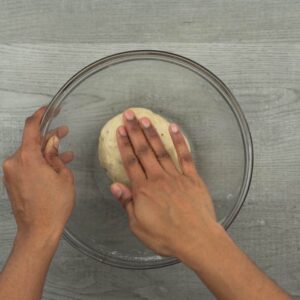
- Gradually add water, a little at a time, and begin kneading. Continue kneading until the dough is firm and smooth, which is crucial for the structural integrity of your samosas. Aim to knead the dough for at least 5-7 minutes to achieve a tight and smooth texture that will help your samosas turn out crispy.
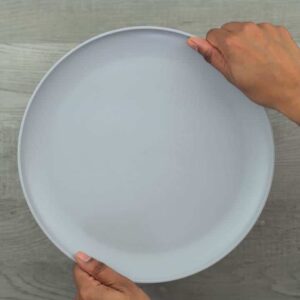
- Cover the bowl with a damp cloth or a plate and let the dough rest for 30 minutes. This resting period allows the gluten to develop, resulting in a flexible dough that’s easier to roll out and fold without tearing.
Making Samosa Filling
- Heat oil in a pan over medium heat, then add cumin seeds, green chili, and onion. Sauté until the onion becomes translucent and softens.
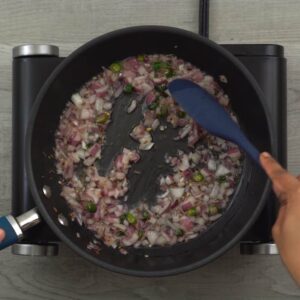
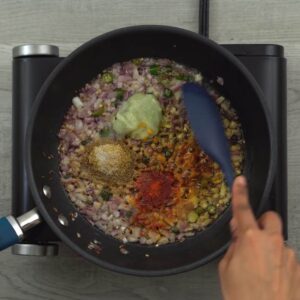
- Stir in the ginger-garlic paste, turmeric, chili powder, coriander powder, and a pinch of salt. Saute until the spices are well combined and fragrant.
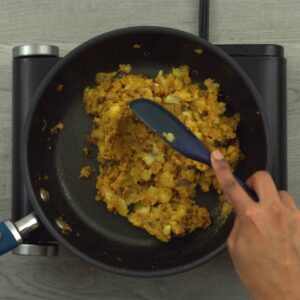
- Add the boiled and mashed potatoes to the pan. Mix thoroughly to ensure the potatoes are evenly coated with the spice mixture.
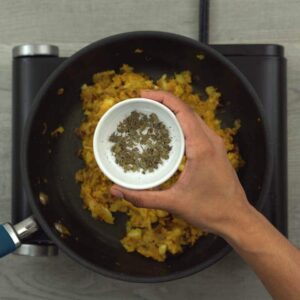
- Stir in kasoori methi to infuse the filling with its distinctive flavor.
- Add chopped coriander leaves and mix well to integrate their fresh, vibrant flavor throughout the filling. Your potato filling is now perfectly seasoned and ready to be wrapped in samosa dough.
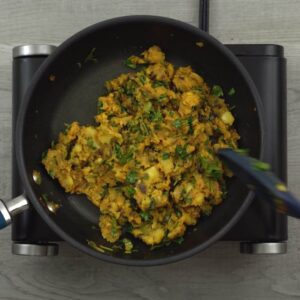
Folding and Shaping Samosas
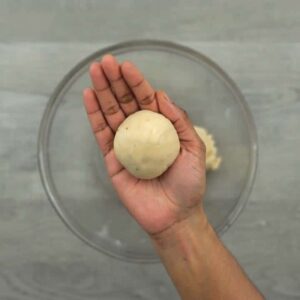
- Remove the lid from the bowl. Take a small portion of the rested dough, about the size of a golf ball, and roll it between your hands to form a smooth ball.
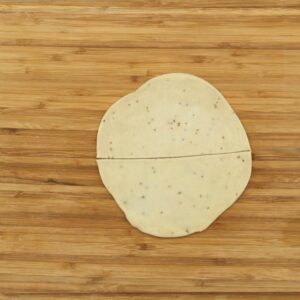
- Flatten the dough ball and roll it out into a circular or oval disc, about 5 to 6 inches in diameter. To prevent sticking and enhance the texture, apply a little oil to the rolling surface and dough. Use a knife or pizza cutter to cut the disc into two equal halves.
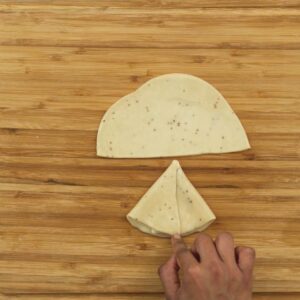
- Lightly moisten the straight edge of each half with water. Bring the edges together to form a cone shape, pinching the edges to ensure they are securely sealed.
- Spoon about 2 teaspoons of the potato filling into each cone. Be careful not to overfill, as this could cause the samosas to burst during frying.
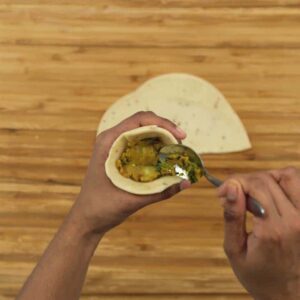
- Apply water along the open edge of the cone, then press the edges together firmly to seal the samosa. This helps prevent the filling from leaking out during cooking. As you continue shaping and filling the rest of the samosas, keep them covered under a damp cloth. This prevents the dough from drying out and becoming fragile, which could lead to cracking.
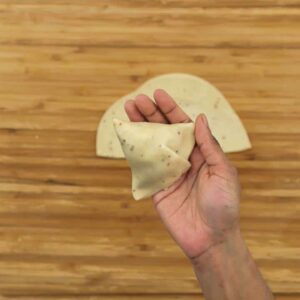
Frying Samosas
- Heat oil in a kadai or pan over low heat. The oil should be warm but not too hot, as high temperatures can cause bubbles and blisters to form on the samosas. Carefully add the filled samosas one at a time to prevent overcrowding, which helps them cook evenly.
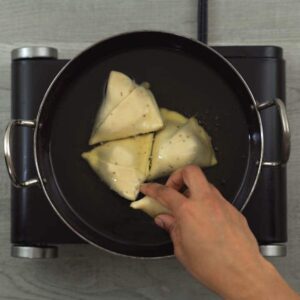
- Keep the heat low and fry the samosas for about 15 minutes, turning them occasionally for even cooking. Maintain a medium-low heat throughout to ensure they turn golden brown and achieve a crispy finish without burning.
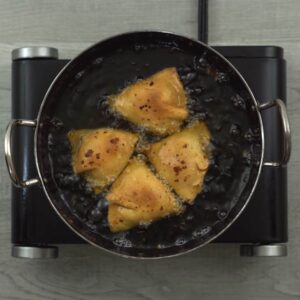
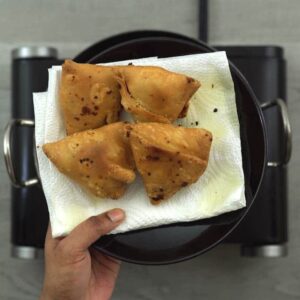
- Once the samosas are golden brown, remove them from the oil and drain any excess oil on paper towels. Continue this process with the remaining samosas until all are fried to perfection.
Serving
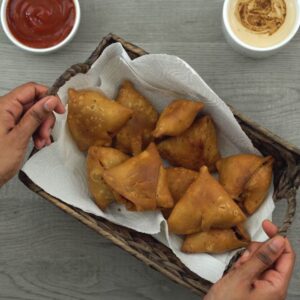
- Enjoy these delicious Indian street-style Samosas with mint, coriander, mango, or green chutney. For more ideas, refer to our serving suggestions below.
Notes
Explore these helpful tips to make the perfect samosa every time with a crispy finish:
- Precise Measurements: Make sure to measure your ingredients accurately. Getting this right means avoiding dough that's too hard or too soft, which directly impacts the texture of your samosas.
- Oil in Dough Rolling: I find that lightly oiling the surface when rolling out the dough prevents sticking and improves the texture, making the dough easier to manage.
- Proper Filling Preparation: Prepare your filling ahead of time and let it cool to room temperature. It should be well-spiced and seasoned, moist but not wet, to keep the samosas from becoming soggy.
- Variety in Fillings: Don’t hesitate to experiment with different fillings to keep things interesting. While traditional fillings like potatoes, meats, and paneer are always great, trying something like onions or eggs can add a delightful twist.
- Leftover Hack: I love using leftover roasted potatoes in the stuffing. It's a great way to enhance flavor while minimizing waste.
- Color of Samosas: The samosas will turn a rich golden brown once cooked. This vibrant color really pops after they've cooled down a bit.
- Crispiness Preservation: If you follow the cooking instructions carefully, your samosas can stay crispy at room temperature for hours, even until the next day, which is perfect when preparing for parties or gatherings.
- Healthier Cooking Options: If you're looking for a healthier option, baking or air-frying are fantastic methods. I’ve provided detailed steps below for these techniques, offering a lighter way to enjoy delicious samosas.
Nutrition
Serving: 1serving | Calories: 221kcal | Carbohydrates: 30g | Protein: 4g | Fat: 10g | Saturated Fat: 1g | Polyunsaturated Fat: 3g | Monounsaturated Fat: 6g | Trans Fat: 0.04g | Sodium: 143mg | Potassium: 338mg | Fiber: 3g | Sugar: 1g | Vitamin A: 76IU | Vitamin C: 16mg | Calcium: 16mg | Iron: 2mg
Visit the Recipe
Want to view the full post? Simply scan the QR code with your camera and tap the link.
