
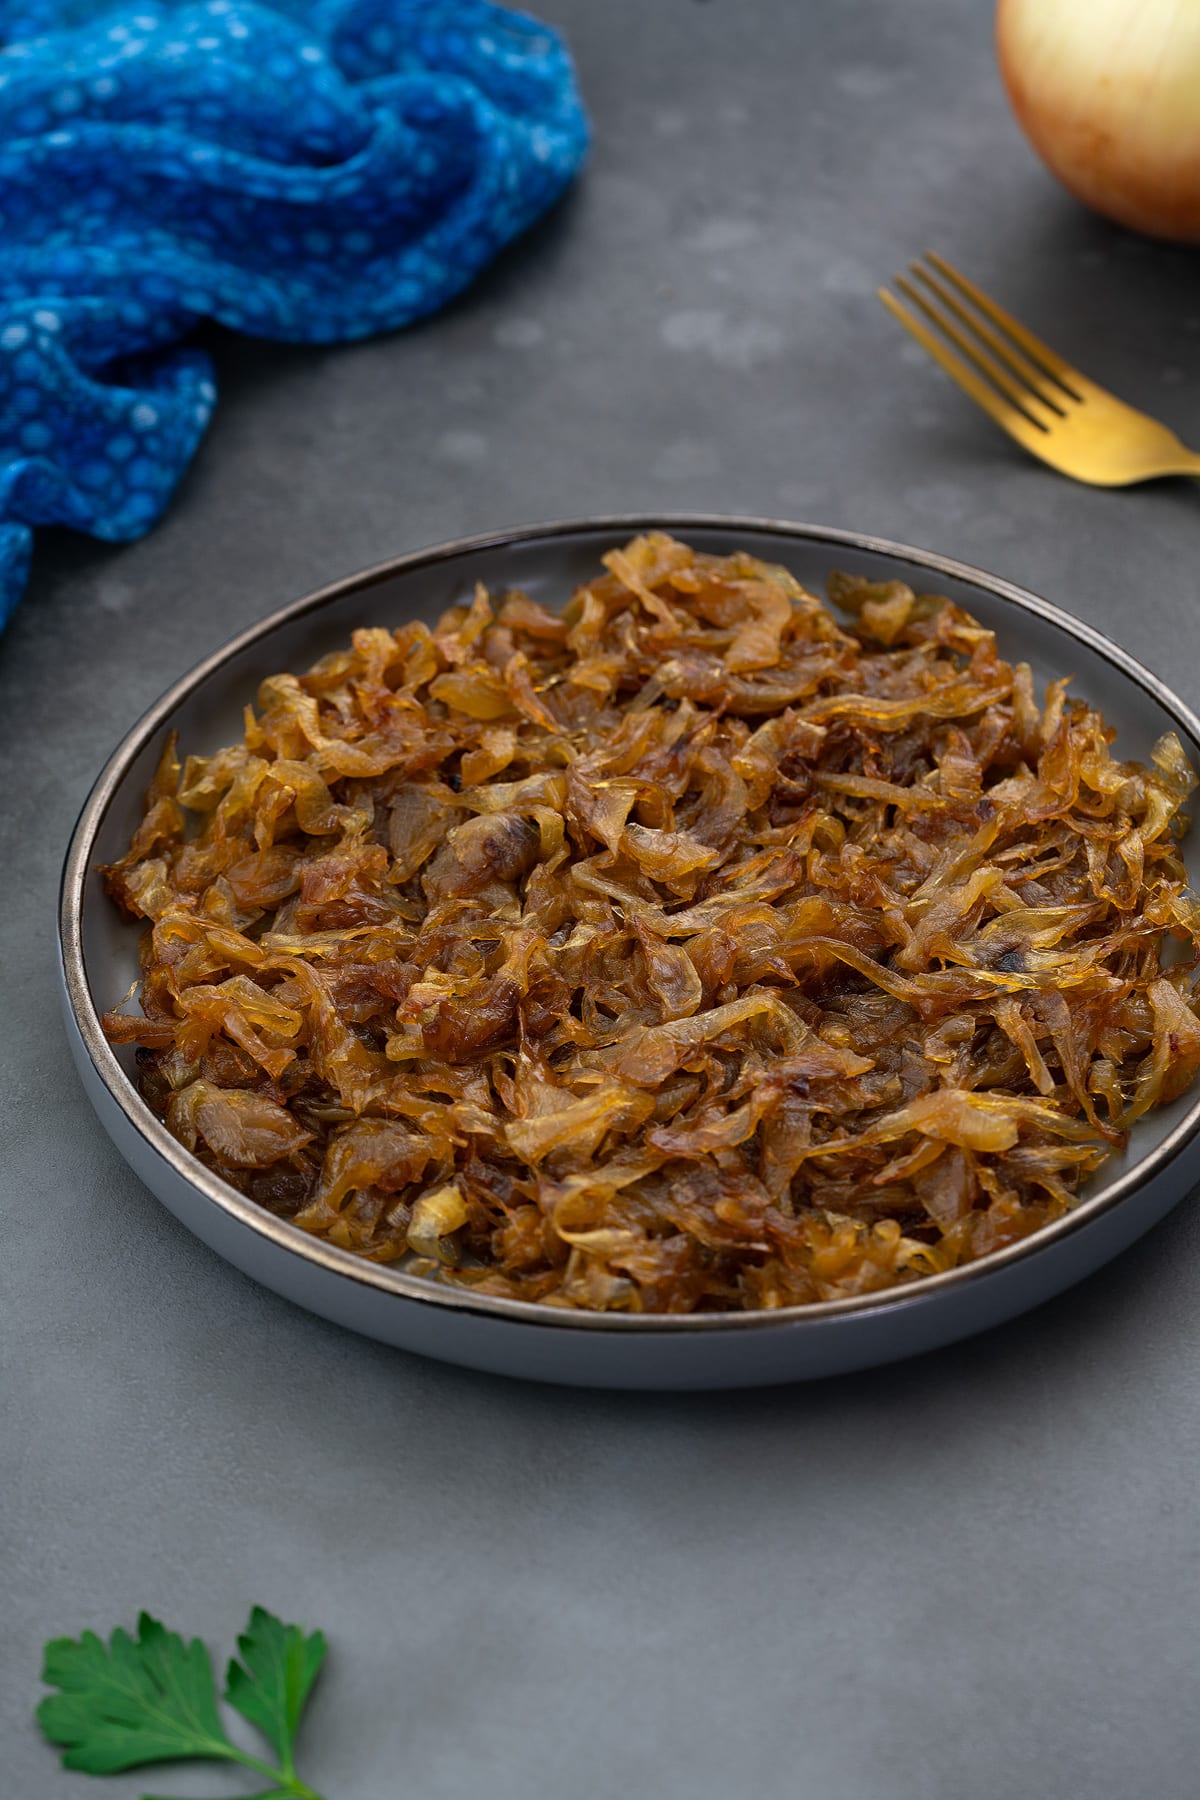
Caramelized onions are a real game-changer in the kitchen with their rich golden-brown color and sweet, mellow flavor. They're incredibly versatile, adding a delicious twist to everything from burgers and pizzas to soups and pastas. You'll just need onions, a bit of oil, some salt, and your choice of liquid to deglaze the pan.
What You’ll Find On This Page
The process is straightforward but demands a bit of your time. Slowly cooking the onions brings out their sugars, transforming them into something truly special—this can take a bit over an hour, but trust me, it’s worth every minute.
I always suggest making caramelized onions in big batches. They store and freeze perfectly, so you have this key ingredient ready to elevate your meals anytime you need a flavor boost.
Ingredients and Substitutions Overview
For caramelizing onions, you’ll need a few simple ingredients. Each one is important for achieving that perfect caramelization. Here’s what you’ll need:
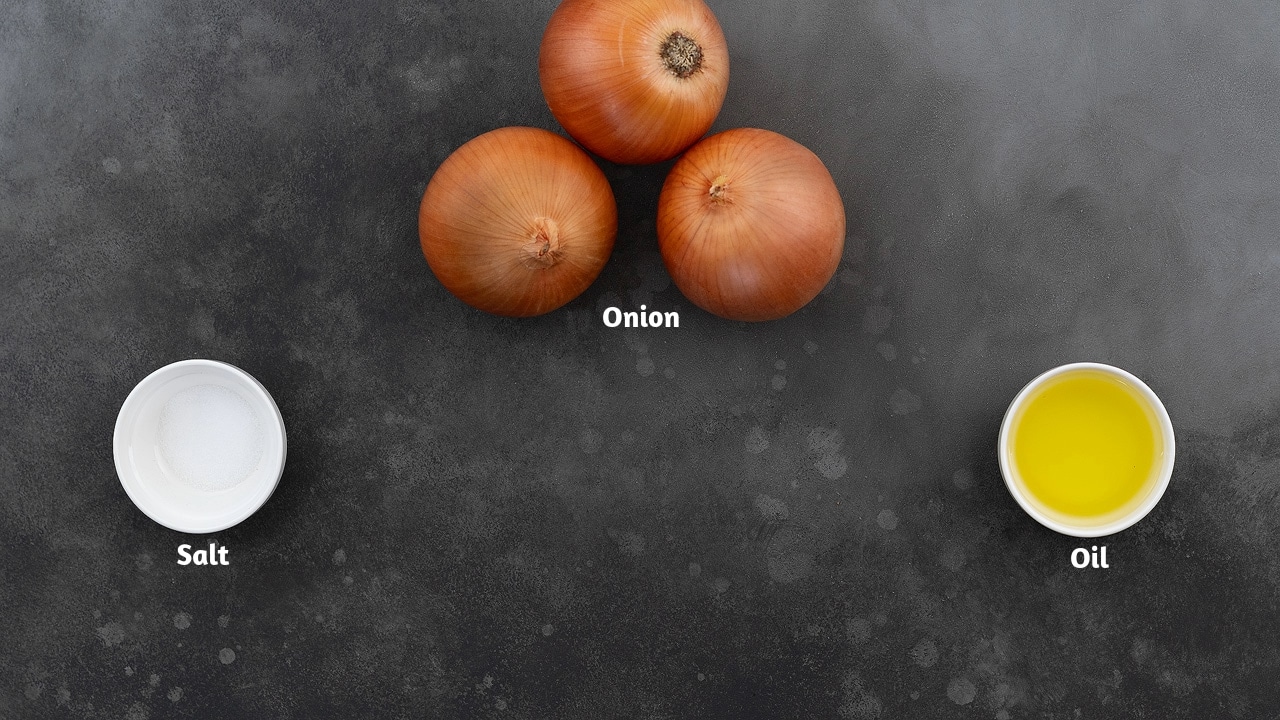
- Onions: You can use red, white, or yellow onions for caramelizing. I prefer yellow onions for this recipe, but choose any type you like based on your taste preferences.
- Olive Oil: Use olive oil, or if you prefer, any neutral cooking oil like canola or vegetable oil will work just as well.
- Salt: A pinch of salt is important because it helps the onions release moisture, which is key for caramelization.
- Water (or Alternatives): A few teaspoons of water are useful for deglazing the pan if the onions start to stick. Alternatively, for an extra flavor boost, you can use chicken broth, vinegar, or balsamic vinegar.
How to Make Caramelized Onions at Home?
Let's turn these basic ingredients into delicious caramelized onions with my easy-to-follow recipe, complete with photos and a video. Although the recipe is quite simple, achieving that perfect caramelization takes about an hour, so patience is key. Here's how to make them:
Explore Similar Side Dish Recipes:
- Fried Onions
- How to Boil Eggs
- How to Boil Potatoes
- How to Roast Garlic
- How to Roast Tomatoes
- How to Cook Rice
Caramelized Onions
Ingredients
- 5 Onions, medium to large onions, choose the type of onion you prefer.
- 2 tbsp Olive Oil
- 2 tsp Salt
- 2 tsp Water, or chicken broth, or vinegar
Instructions
Making Caramelized Onions
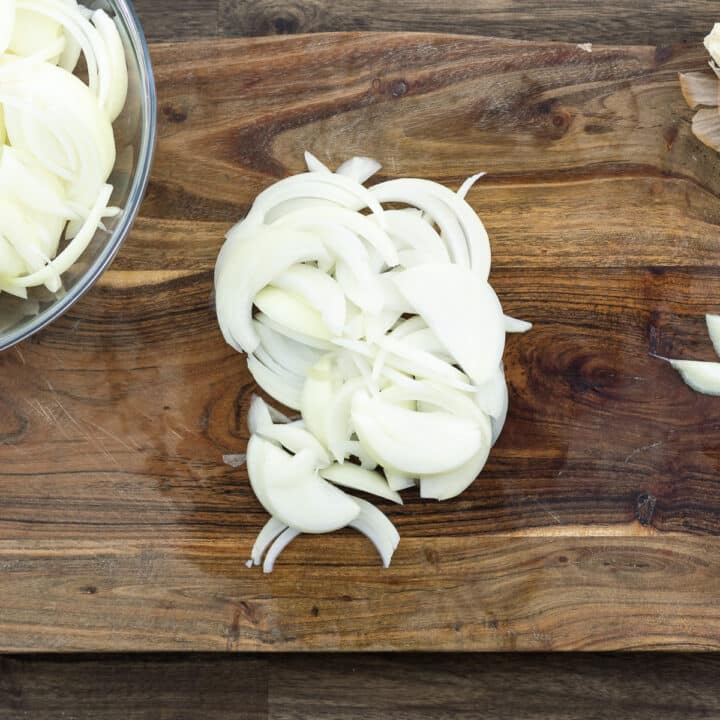
- Start by trimming the ends off the onions and peeling away the outer layers. Then, halve and slice them uniformly, making sure to separate the layers in each slice to ensure even cooking.

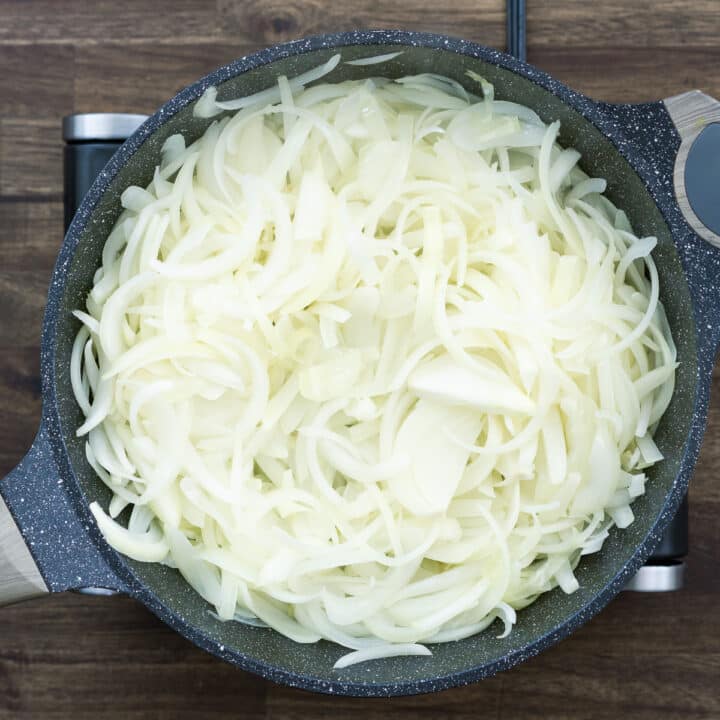
- Place a sturdy pan over medium-low heat and add olive oil along with the sliced onions. Sauté them until they start to soften, which should take about 10 minutes. The type of pan used, like ceramic or iron skillet, can affect the cooking time.
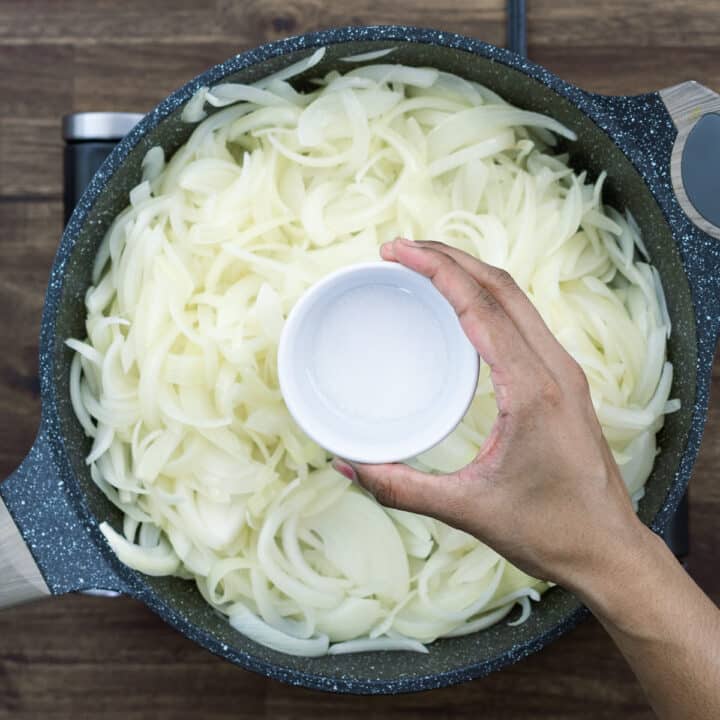
- After the onions have softened, sprinkle a pinch of salt over them and stir well to ensure the flavor is evenly distributed.
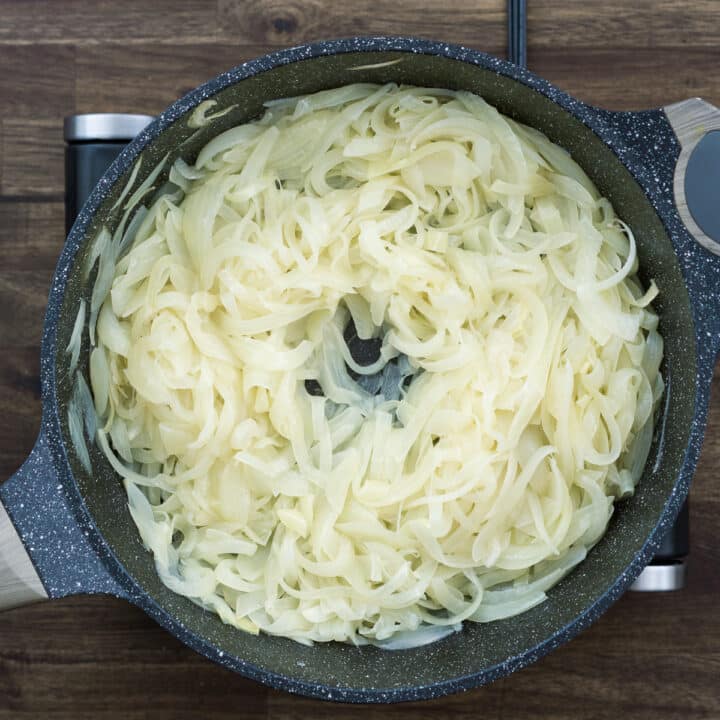
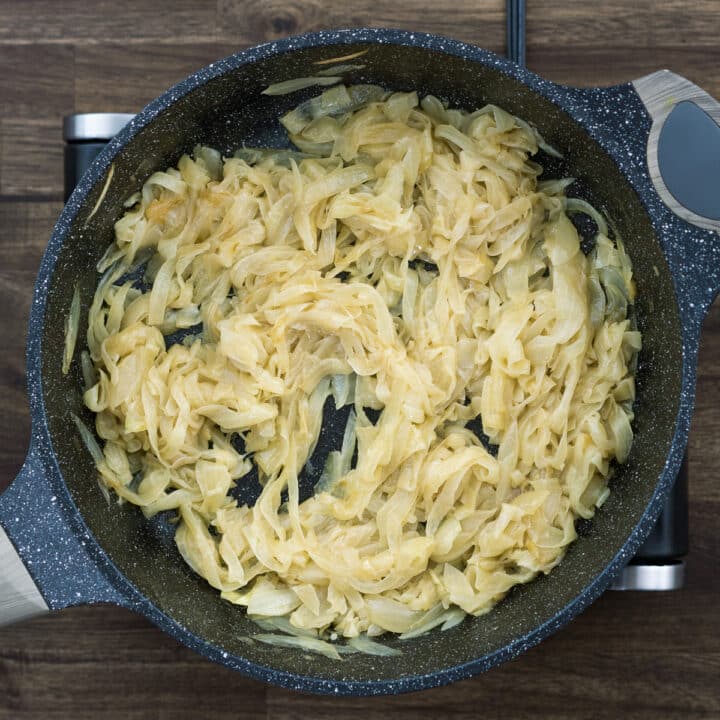
- Keep sautéing and stirring occasionally. By the 25-minute mark, the onions will become very soft, which is great for adding to curries, sautéed mushrooms, or creamy soups.
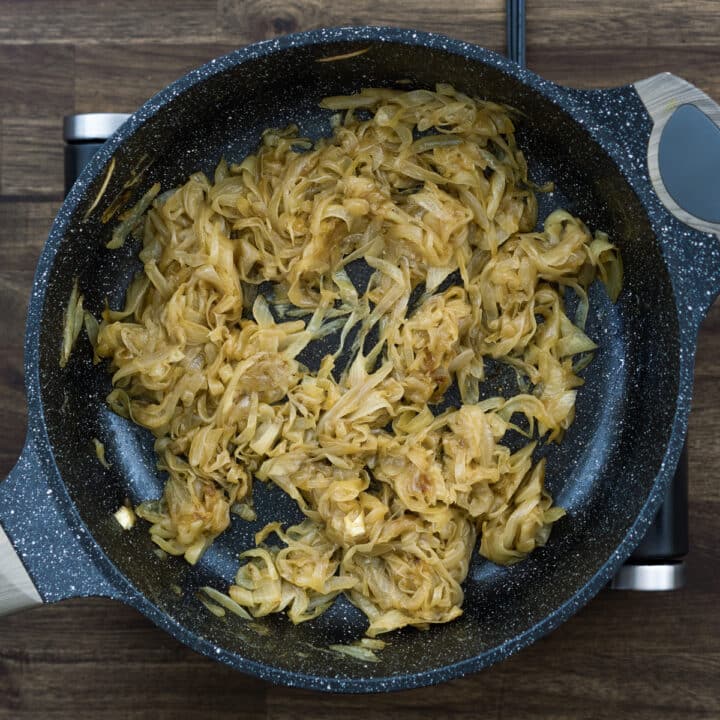
- Continue cooking, stirring occasionally. At around the 45-minute mark, the onions will turn golden, making them ideal for enhancing dishes like chicken fajitas, pastas, and sandwiches.
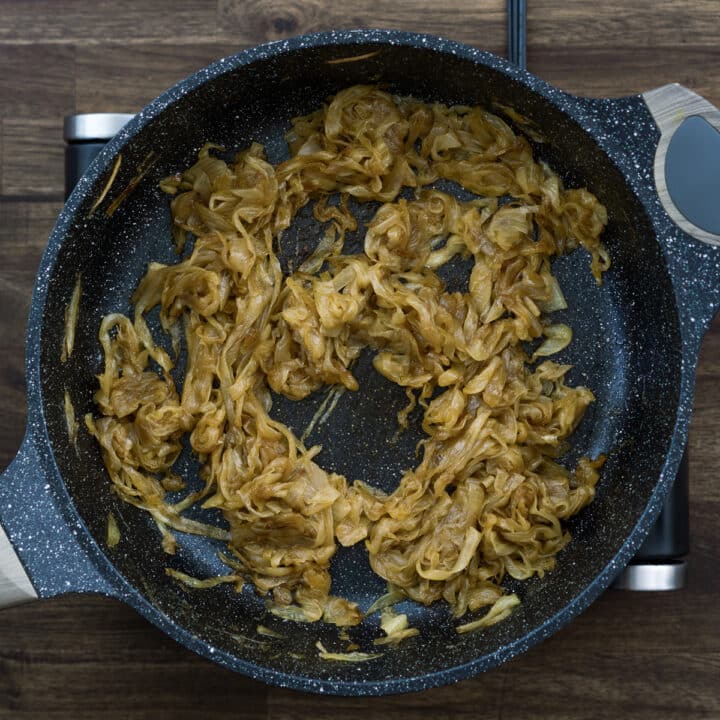
- After around an hour, the onions should reach a golden-brown color. If they begin to stick to the pan, add a splash of water, chicken broth, balsamic vinegar, or regular vinegar to deglaze and lift any flavorful bits from the pan.
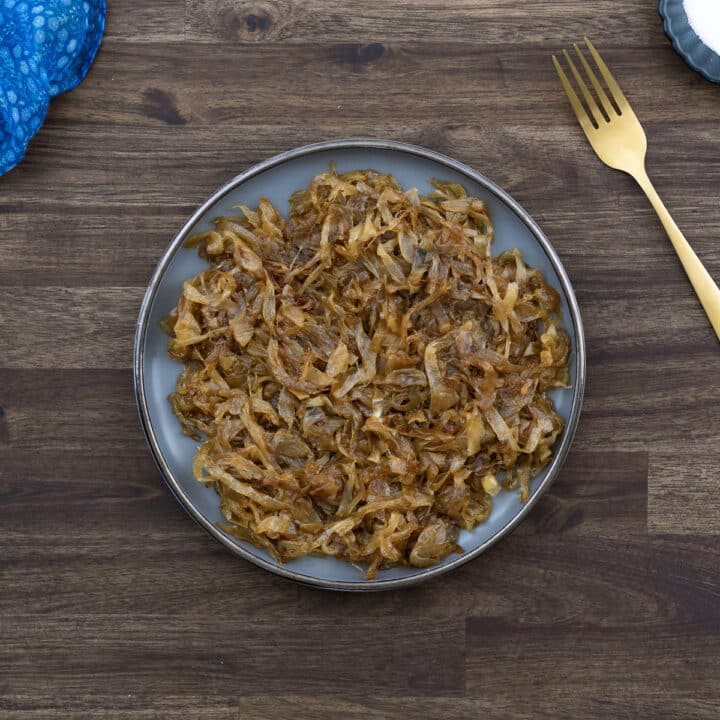
- Keep cooking until the onions deepen to a rich brown at around the hour and 30-minute mark, indicating they are fully caramelized. Turn off the heat. Now they are ready to use in your dishes or to be stored for later use.
Using
- Use caramelized onions to enhance a variety of dishes, from French onion soup and burger toppings to grilled cheese, green bean casserole, and sautéed dishes. They also make a delicious pizza topping. For more ideas, check out our 'How to Use' section below.
Recipe Video
Chef's Notes and Tips
- Choosing Onions: Yellow onions are best for caramelizing due to their ideal balance of sweetness and robust flavor. Red onions are also suitable for a slightly different, yet delicious, outcome. Avoid overly sweet onions like Vidalias, as they can become too sugary. Opt for larger onions since they are easier to slice uniformly and shrink less during the lengthy cooking process.
- Preparing the Onions: Begin by cutting off the roots and the stem, then peel away the outermost layer. This step ensures that your onions are clean and free from any tough, inedible parts.
- Slicing the Onions: Aim for uniform slices to ensure even cooking. Different thicknesses can cause the onions to cook unevenly, with thinner slices possibly burning before thicker ones caramelize.
- Slow Cooking and Patience: Perfect caramelization comes from low and slow cooking. Set your stove to medium-low and let the onions caramelize gradually. This process can take 45 minutes to an hour and a half. Resist the urge to turn up the heat; slow and steady wins the race, yielding onions with a deeper, richer flavor.
- Balancing Heat for Caramelization: While low heat is usually best for caramelizing onions, starting on medium heat to quickly soften the onions before switching to low can save time and still yield flavorful results. This method helps balance the heat to cook the onions thoroughly without charring.
- Stirring Occasionally: Stir the onions every now and then to help them cook evenly and prevent sticking. This doesn't need to be constant but enough to ensure they brown nicely on all sides.
- Choosing the Right Pan: The type of pan is key for caramelization. Thick-bottomed pans like ceramic or cast iron provide even heat and slow cooking, ideal for consistent results. Thinner pans, such as nonstick or stainless steel, heat up quickly and speed up the process. Select your pan based on how fast you want to cook and the results you want.
- Moderating Salt: Sprinkle a pinch of salt once the onions begin to soften. Salt is crucial as it helps draw out moisture from the onions, aiding in the caramelization process, but adding too much early on could make the onions watery.
- Manage Moisture and Deglaze as Needed: If the onions start to stick or catch on the pan, or if they begin drying out during cooking, simply deglaze with a small amount of water, broth, or a flavorful vinegar. This not only helps to release any caramelized bits stuck to the pan, preventing burning, but also ensures the onions stay moist and flavorful throughout the cooking process.
- Monitor the Color Changes: Keep a close eye on the onions as they cook, noting how they change from pale to golden and eventually to a rich, deep brown. These color changes are key indicators of the caramelization process and help you determine when the onions are perfectly caramelized.
Nutrition Info
Disclaimer
We're not nutrition experts, and the nutritional information provided is an estimate. Please use it as a guide. For precise details, it's best to consult a professional. To learn more, please view our Detailed Disclaimers.
Looking for more flavors? Explore our collection of condiments, from bold seasonings and marinades to versatile dips and dressings. Each recipe infuses a variety of dishes with depth and flavor, allowing you to enjoy global tastes right from your kitchen.
How to Use Caramelized Onions?
Caramelized onions are incredibly versatile and add a sweet-savory depth to many dishes. Here's how you can use them to elevate your cooking:
- Burgers: Top beef, chicken, turkey, or veggie burgers with caramelized onions for a delicious twist.
- Steak: Serve a juicy steak with caramelized onions for a classic and tasty combination.
- Sandwiches: Enhance grilled cheese or a classic French dip sandwich with these flavorful onions.
- Hot Dogs and Sausages: Add them as a topping along with jalapeno pickle, mustard, and cheese for a burst of flavor.
- Egg Dishes: Fold the onions into omelets, quiches, or frittatas to add a sweet note.
- Pasta: Stir them into pasta dishes with garlic and olive oil or into creamy sauces for extra flavor.
- Sausage and Peppers: Include caramelized onions in sausage and pepper dishes to enhance their taste.
- Risotto: Mix into risotto for a comforting, flavorful addition.
- Soup Toppings: Garnish creamy soups like potato leek or butternut squash with caramelized onions for added complexity.
- Mexican Cuisine: Toss them into chicken tacos, fajitas, and other Mexican dishes for an extra layer of flavor.
- Potatoes: Incorporate caramelized onions into mashed or baked potatoes for a rich, savory touch.
- Casseroles: Transform green bean or breakfast casseroles by adding caramelized onions.
- Salads: Mix caramelized onions into a salad for a burst of sweetness that complements bitter greens like arugula or spinach.
- Dips: Blend caramelized onions into dips, such as French onion dip, hummus or sour cream-based dips, for a rich, deep flavor.
- Roasted Vegetables: Toss caramelized onions with other roasted vegetables like carrots or Brussels sprouts for added sweetness.
- Grains: Stir them into cooked grains like quinoa, rice, or barley to enrich the dish's flavor profile.
- Fish Dishes: Top grilled or baked fish like salmon, tilapia or cod with caramelized onions to add a delicious complexity.
Storage Suggestions
Here’s how I like to keep my caramelized onions fresh and ready whenever I need them:
In the fridge, caramelized onions can last up to a week. Just make sure to place them in an airtight container—this keeps them fresh and ready for your next dish.
For longer storage, freezing is the way to go. Once the onions have cooled, spoon them into ice cube trays. This simple step allows for easy portioning later. Flash freeze the trays for 30-45 minutes to prevent the onions from sticking together. After that, transfer the onion cubes to freezer bags or airtight containers, label them with the date, and they'll stay good for 2-3 months.
Leave a Review