
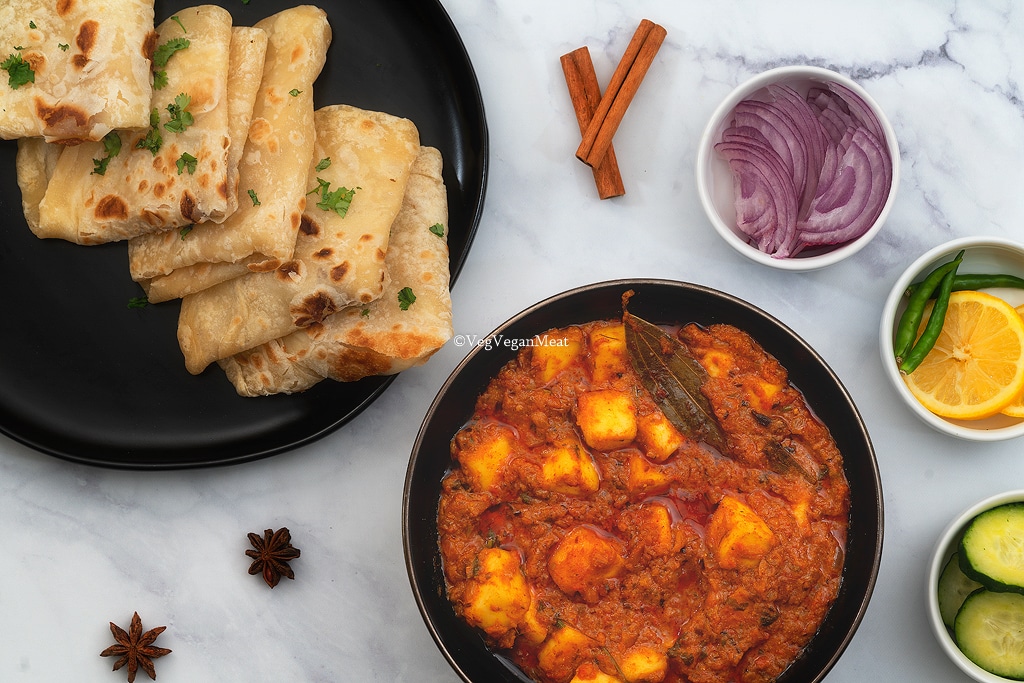
Dhaba-style Paneer Masala is one of those popular Indian curry dishes that brings the flavors of India’s roadside dhabas right into your kitchen. If you’ve ever had the chance to stop at one of these small eateries, you know they’re all about rich, homestyle flavors. With this recipe, I’ll show you how to recreate that same taste at home, using soft paneer, garam masala, a touch of kasoori methi, and warm spices.
What You’ll Find On This Page
Roasting the spices really brings out their full flavor, and adding a little kasoori methi (dried fenugreek leaves) gives just the right earthy balance to the creamy curry. The end result is simple and satisfying.
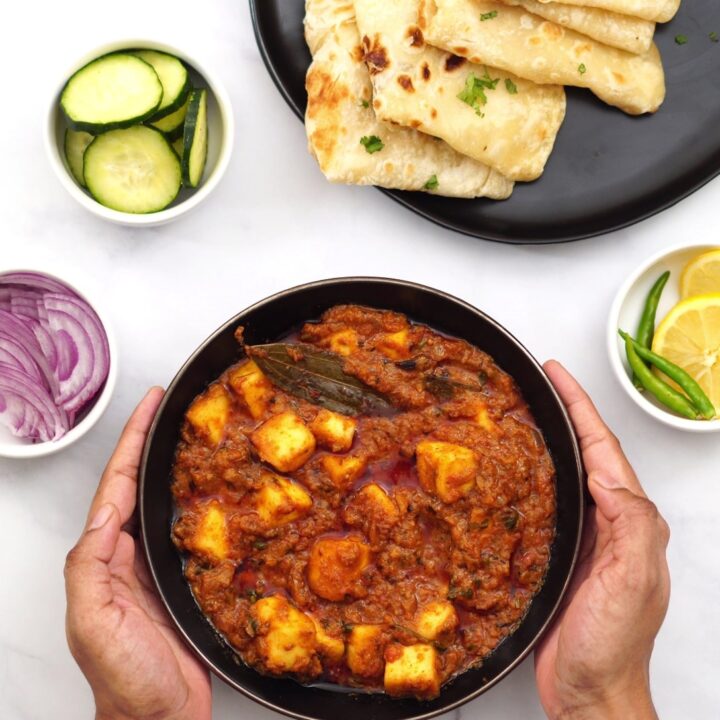
This paneer masala goes perfectly with naan, roti, parathas, or rice like basmati, or jeera rice. Whether it’s for a family meal or a cozy vegetarian dinner, this dish brings a bit of that Indian roadside flavor to your table.
Explore More Indian Vegetarian Sides:
How to Make Paneer Masala at Home?
Let’s get started on this delicious Dhaba-style Paneer Curry! We’ll begin by frying the paneer, then sautéing the spices and vegetables. After that, we’ll mix in the tomato puree along with the fried paneer to create the perfect Dhaba Paneer Masala. Let’s go!
Enjoy More Paneer Recipes and Indian Curries:

Paneer Masala (Dhaba Style )
Ingredients
To Pan Fry Paneer
- ¼ cup Ghee
- 0.55 lb Paneer, cut into cubes
For Paneer Masala
- 4 tbsp Ghee, or oil
- 1 Bay leaves
- 3 Cardamom
- 3 Cinnamon Stick, small
- 2 Cloves
- ½ tsp Cumin Seeds
- 1 Onion, finely chopped
- 1 tsp Ginger Garlic Paste
- 1 tsp Chili powder
- 2 tsp Coriander powder
- 1 tsp Garam masala
- ¼ tsp Cumin Powder
- 1 tsp Besan, gram flour
- 1 tsp Salt, to taste
- 1 tsp Kasoori Methi, dried fenugreek leaves, crushed
- 2 Tomato Puree
- ¼ cup Curd, or plain yogurt
- ½ cup Water
- ½ cup Coriander leaves, cilantro, to garnish
Instructions
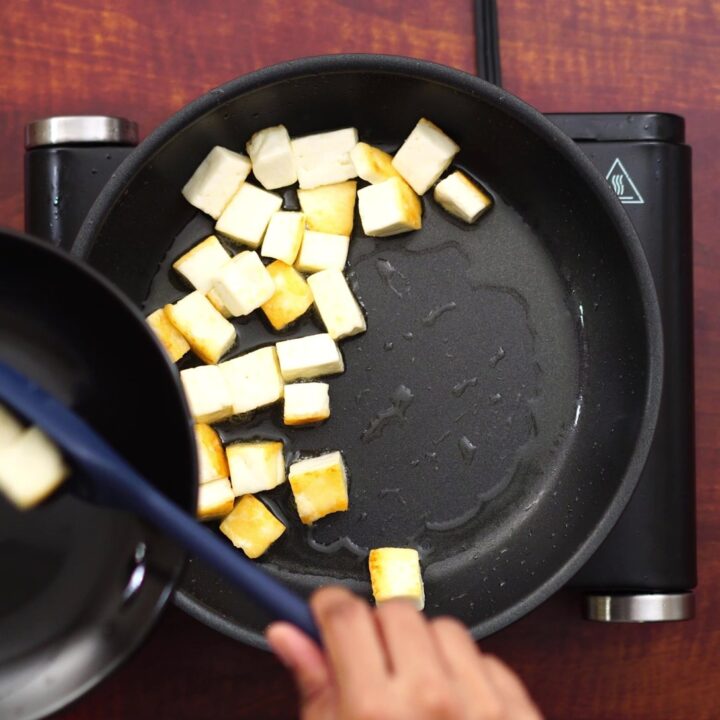
Pan Frying the Paneer
- Start by heating some ghee in a pan over medium heat. Add the paneer cubes and shallow fry them, turning as needed, until they’re a light golden color. This gives the paneer a nice texture and a bit of crispiness. Once done, drain and set them aside for later.

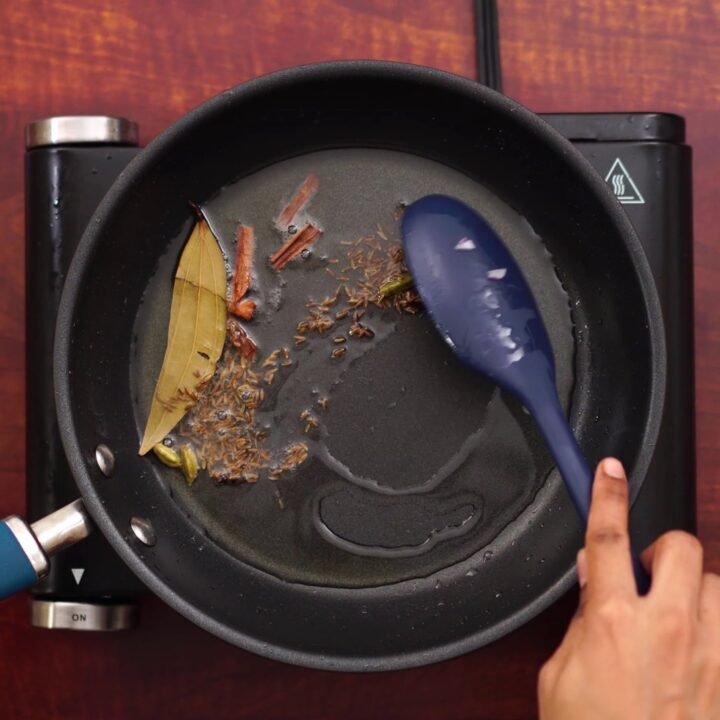
Making Paneer Masala
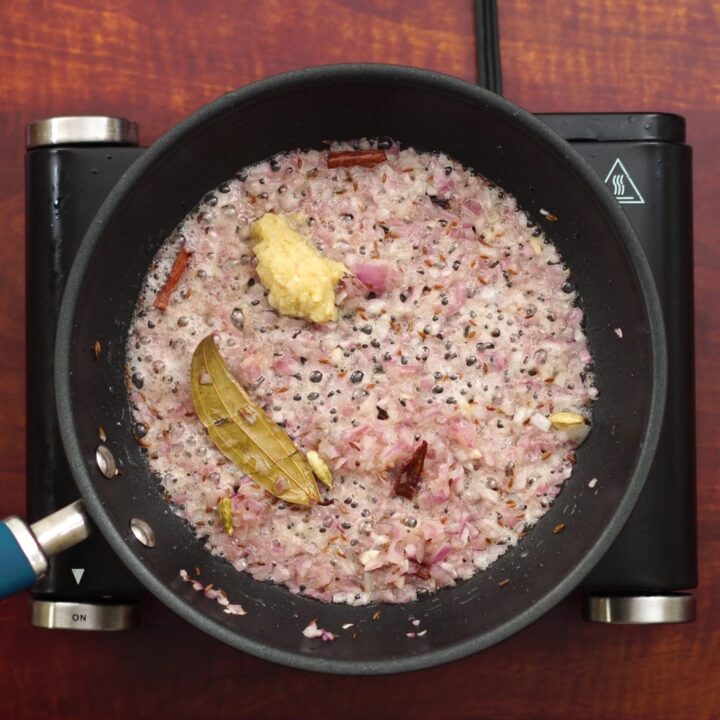
- In the same pan, add ghee or oil. Once it’s warm, add bay leaves, cardamom, cumin seeds, and a cinnamon stick. Sauté until you smell their aroma, which sets a flavorful base for the curry. This should take about a minute or so.
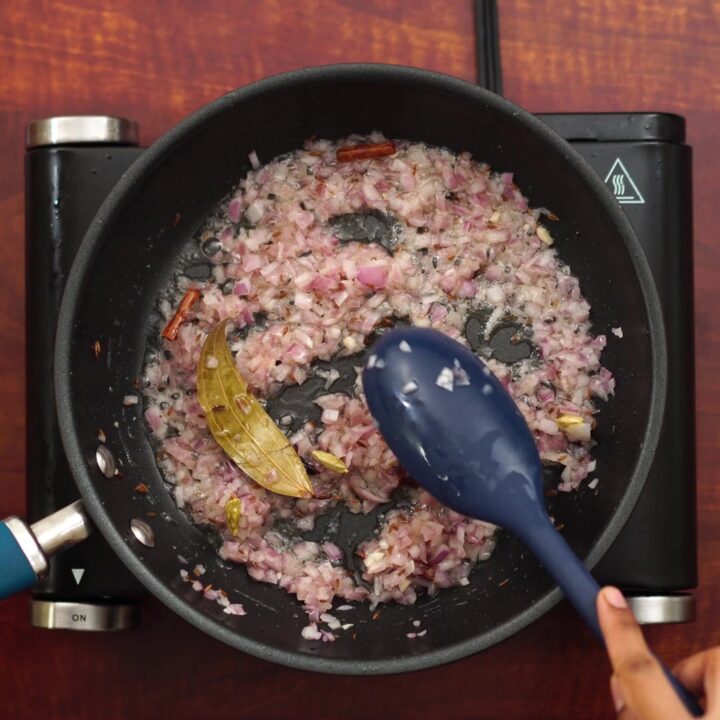
- Add finely chopped onions to the pan. Cook them until they’re soft and translucent, stirring frequently. This step brings a natural sweetness to the dish and helps balance the spices later on.
- Add ginger-garlic paste, stirring until the raw smell disappears. This helps deepen the flavors and gives a base that complements the paneer.
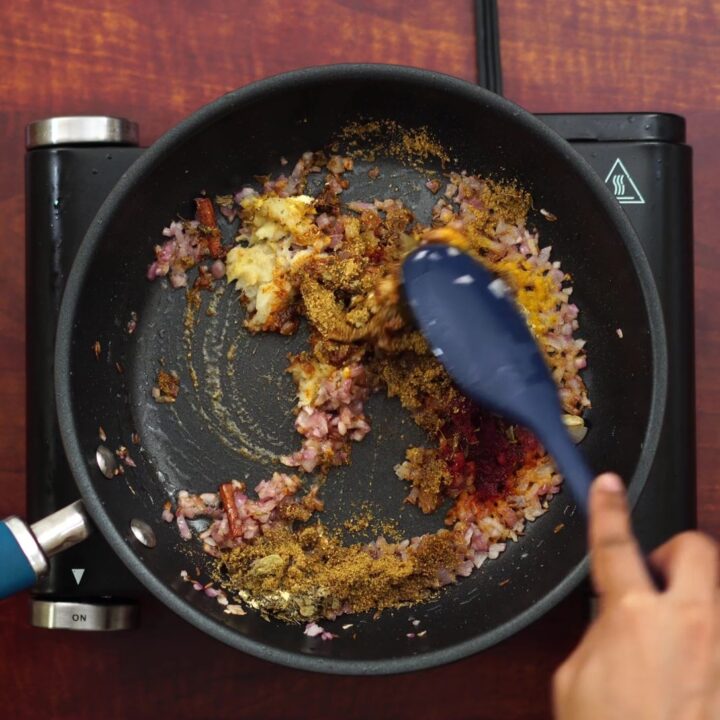
- Now, add chili powder, coriander powder, garam masala, cumin powder, besan (gram flour), and dried fenugreek leaves (kasoori methi). Stir and roast the spices well to bring out their flavors, being careful not to let them burn, as this could affect the taste of the final dish. The besan also helps thicken the gravy slightly.
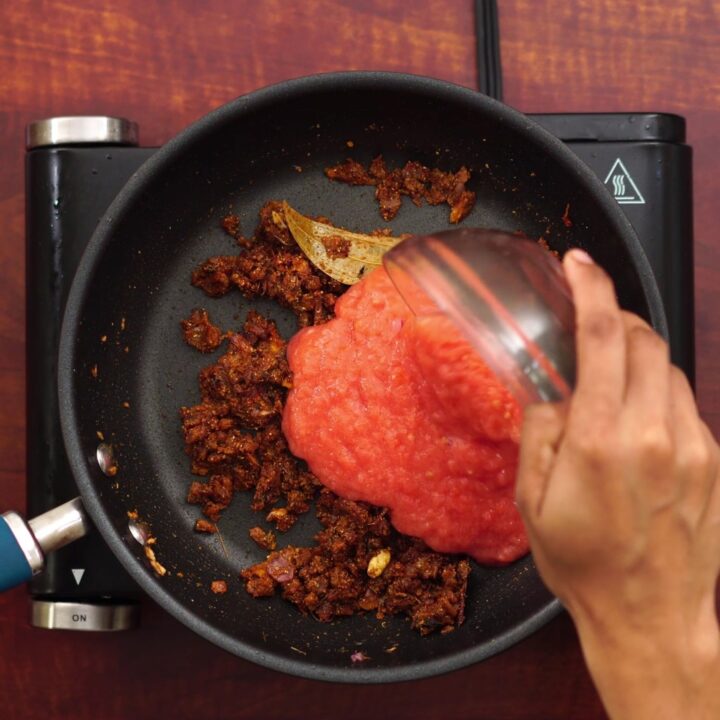
- Stir in the tomato puree, which adds a tangy and slightly sweet flavor. The puree also gives the gravy a nice red color. Cook until the oil starts to separate slightly from the puree, which means it’s cooked down and flavorful.
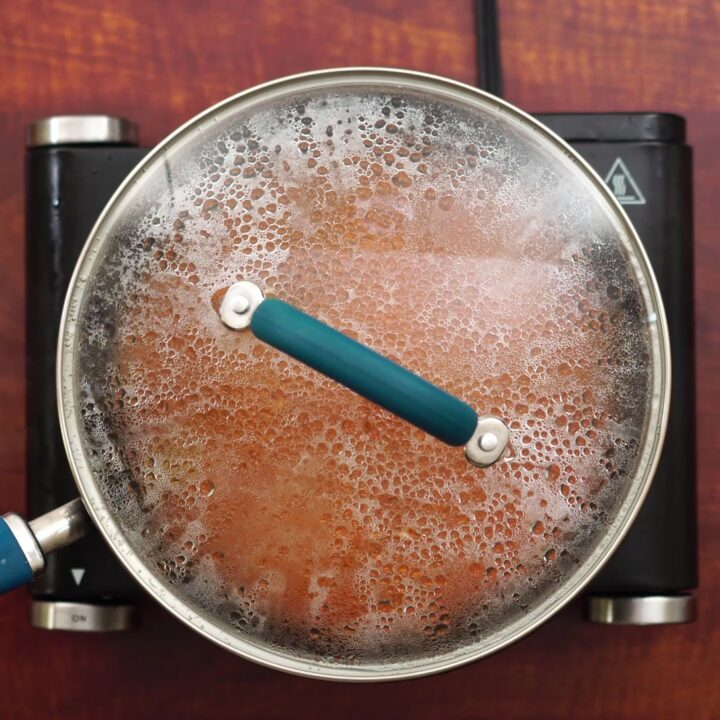
- Cover the pan and let it cook for about 5 minutes. This gentle simmering helps the flavors blend together for a richer, more developed taste.
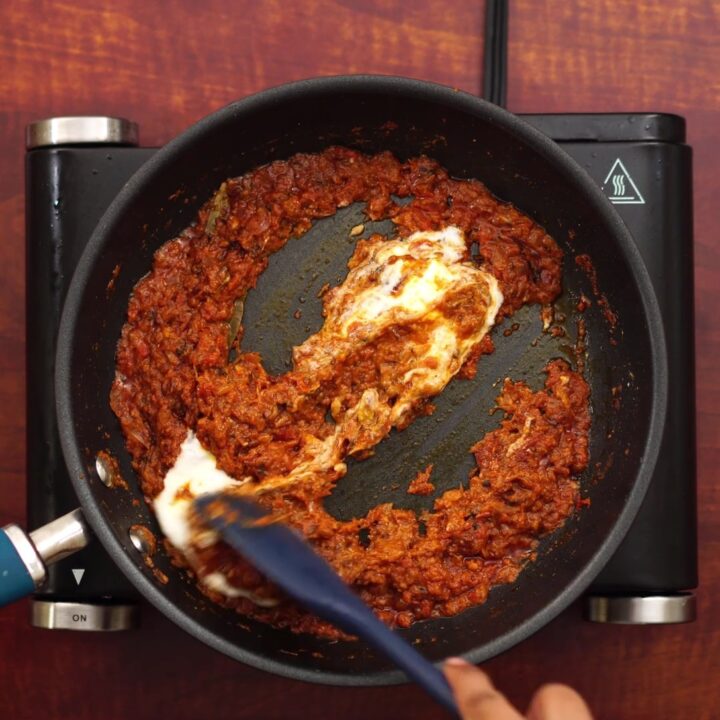
- Gently fold in the curd (yogurt), stirring slowly to keep it from curdling. The yogurt adds a creamy texture and a bit of tartness, which balances the spices nicely.
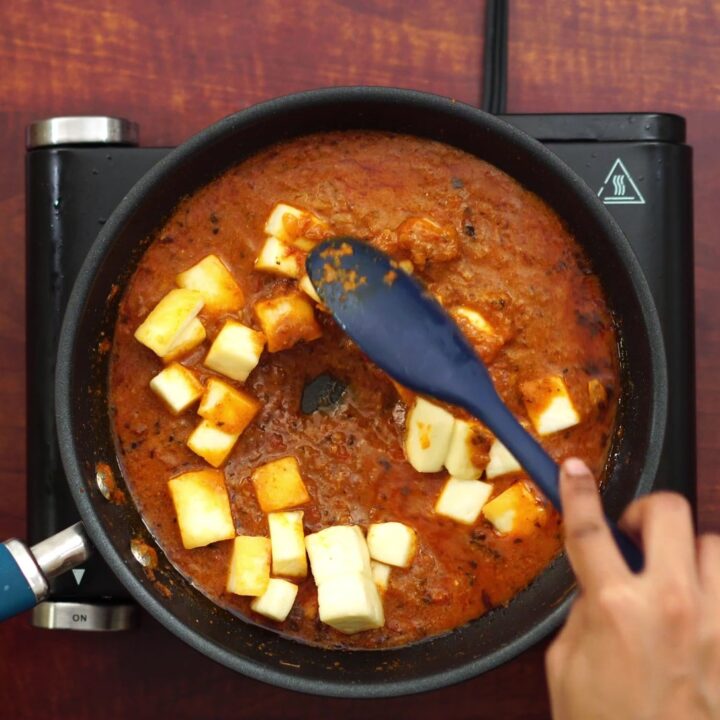
- Pour in water to reach your desired gravy consistency. Then add the previously fried paneer, making sure to stir well so each piece is coated. This helps the paneer absorb the flavors of the gravy.
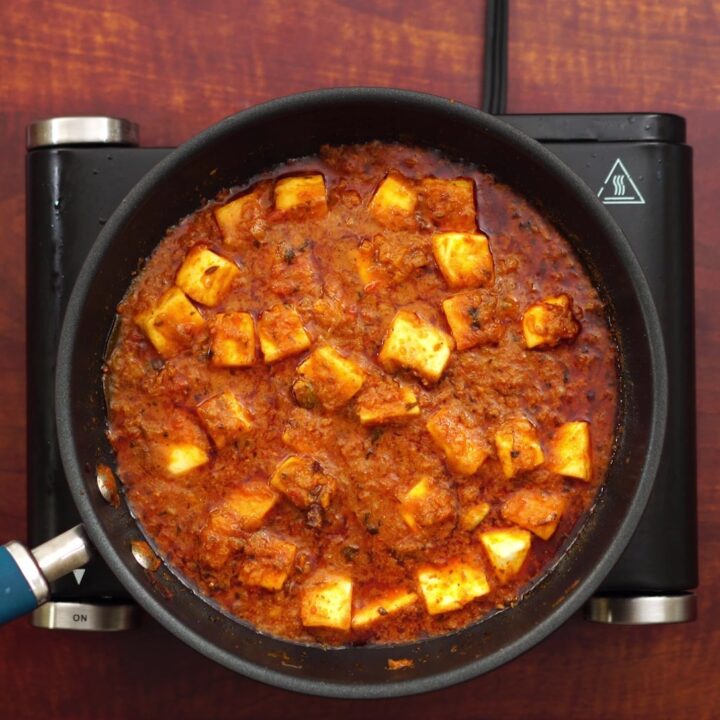
- Let the curry simmer on low heat for 5-7 minutes. The gravy should thicken slightly, and you’ll see oil starting to surface on top, which means the spices are well-cooked.
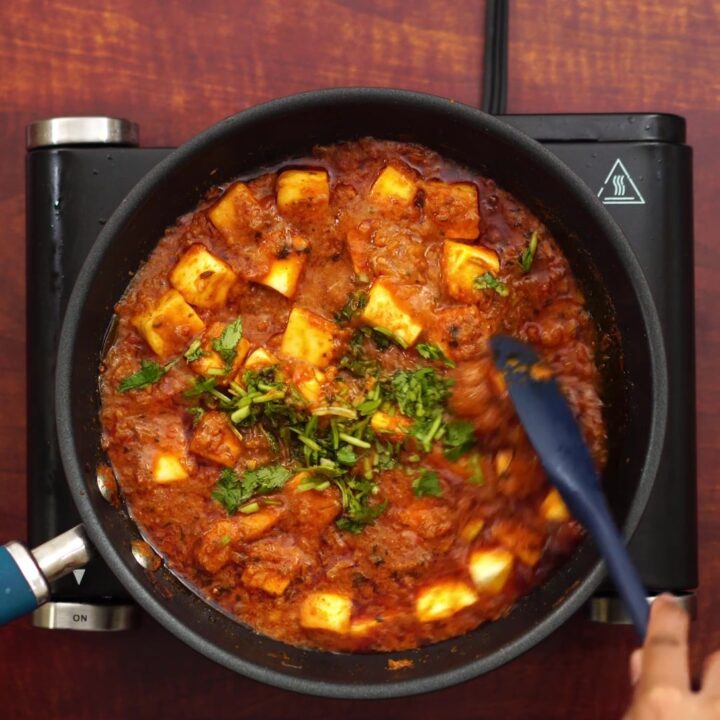
- Turn off the heat and garnish with freshly chopped cilantro or coriander leaves for a burst of freshness and vibrant color. Your delicious Dhaba-style Paneer Masala is now ready to enjoy!
Serving
- Serve the Dhaba-style Paneer Masala warm, along with roti, naan, chapati, or rice. For more pairing ideas, check out our Serving Suggestions section below.
Recipe Video
Chef's Notes and Tips
- Essential Roasting: Take the time to deeply roast the spice powders and besan on low to medium heat. This step unlocks their full flavor and is essential for achieving an authentic Dhaba-style taste. Stir frequently to avoid burning, as burnt spices can alter the flavor of the dish.
- Homemade Tomato Puree: For a fresh and simple tomato puree, blanch ripe tomatoes by boiling them for a few minutes, then transfer them to an ice bath to loosen the skins. Peel the tomatoes, remove any hard stem parts, and blend until smooth. Using fresh puree enhances both color and flavor.
- Tender Paneer: Fry the paneer cubes in ghee before adding them to the gravy. This light frying step keeps the paneer soft and gives it a slightly crisp exterior, adding an extra layer of texture. Be careful not to over-fry, as paneer can become chewy.
- Soft Paneer Tip: If your paneer is refrigerated and feels firm, soak it in warm water for 10-15 minutes before frying. This step softens the paneer and helps it absorb the flavors better when added to the gravy.
- Heat Level: If you prefer a spicier dish, increase the amount of chili powder based on your tolerance. You can also add chopped green chilies for an extra layer of heat. This lets you control the spice level to suit different palates.
- Creaminess: For a creamier texture, stir in a small amount of cream or yogurt towards the end of cooking. Both add a smooth richness to the gravy. Cream gives a fuller taste, while yogurt provides creaminess with a hint of tartness that can balance the spices.
- Consistency Check: Adjust the consistency of the gravy to suit your preference. For a thinner sauce, add a bit of water, stirring well to incorporate it. If you prefer a thicker gravy, cook a bit longer until the desired thickness is reached.
- Resting Time: Let the dish rest for a few minutes after cooking. This brief resting period allows the flavors to settle and meld together, enhancing the overall taste.
- Vegan Alternative: For a plant-based version, replace paneer with tofu and use vegan butter or oil instead of ghee. Lightly fry the tofu in the same way as paneer. These swaps retain similar textures and flavors, making the dish inclusive for all diets.
Nutrition Info
Disclaimer
We're not nutrition experts, and the nutritional information provided is an estimate. Please use it as a guide. For precise details, it's best to consult a professional. To learn more, please view our Detailed Disclaimers.
Serving Suggestions
Dhaba-style Paneer Masala pairs wonderfully with a variety of dishes. Here are some of my favorite suggestions for a complete meal:
- Breads: Serve it with Indian breads like naan, roti, or paratha for a hearty and satisfying combination.
- Rice Dishes: Pair it with basmati rice, plain white rice, jeera rice, or even a fragrant vegetable biryani to balance the rich flavors.
- Side Dishes: Add a refreshing side like cucumber raita, tangy mango chutney, or a crisp kachumber salad to enhance the meal.
- Poppadoms: Add some crunchy poppadoms on the side. They’re great for scooping up the gravy and add a nice texture contrast to the soft paneer and creamy curry.
- Beverages: Try it with a traditional mango lassi or a hot cup of chai for a complete, comforting dining experience.
- Desserts: End on a sweet note with classic Indian desserts like gulab jamun, rasgulla, or kheer.
Storage Suggestions
I suggest enjoying Paneer Masala warm, as it gives a satisfying, comforting experience with each bite. But if you have leftovers, here’s how to store them so they stay fresh and delicious:
- Refrigeration: Store the Paneer Masala in an airtight container in the refrigerator for up to 2–3 days. This method works well for short-term storage and keeps the flavors intact.
- Freezing (for best texture): If you plan to freeze it, consider freezing the curry base and the paneer separately. Place the curry gravy in a freezer-safe container and the paneer cubes in another. When you’re ready to enjoy, thaw both components in the refrigerator overnight. Lightly pan-fry the paneer cubes before adding them to the warmed curry base. This keeps the paneer soft and prevents it from becoming mushy.
- Reheating: Reheat the curry on the stove or in the microwave until warmed through. If the gravy has thickened, add a little water or milk to reach your desired consistency. Add the reheated or freshly fried paneer cubes to the warm gravy.
- Avoid Contamination: Always use a clean spoon or ladle when serving to prevent introducing moisture, bacteria, or cross-contamination. This helps extend the dish’s freshness, especially if you plan to store the leftovers for more than a day.
Leave a Review