
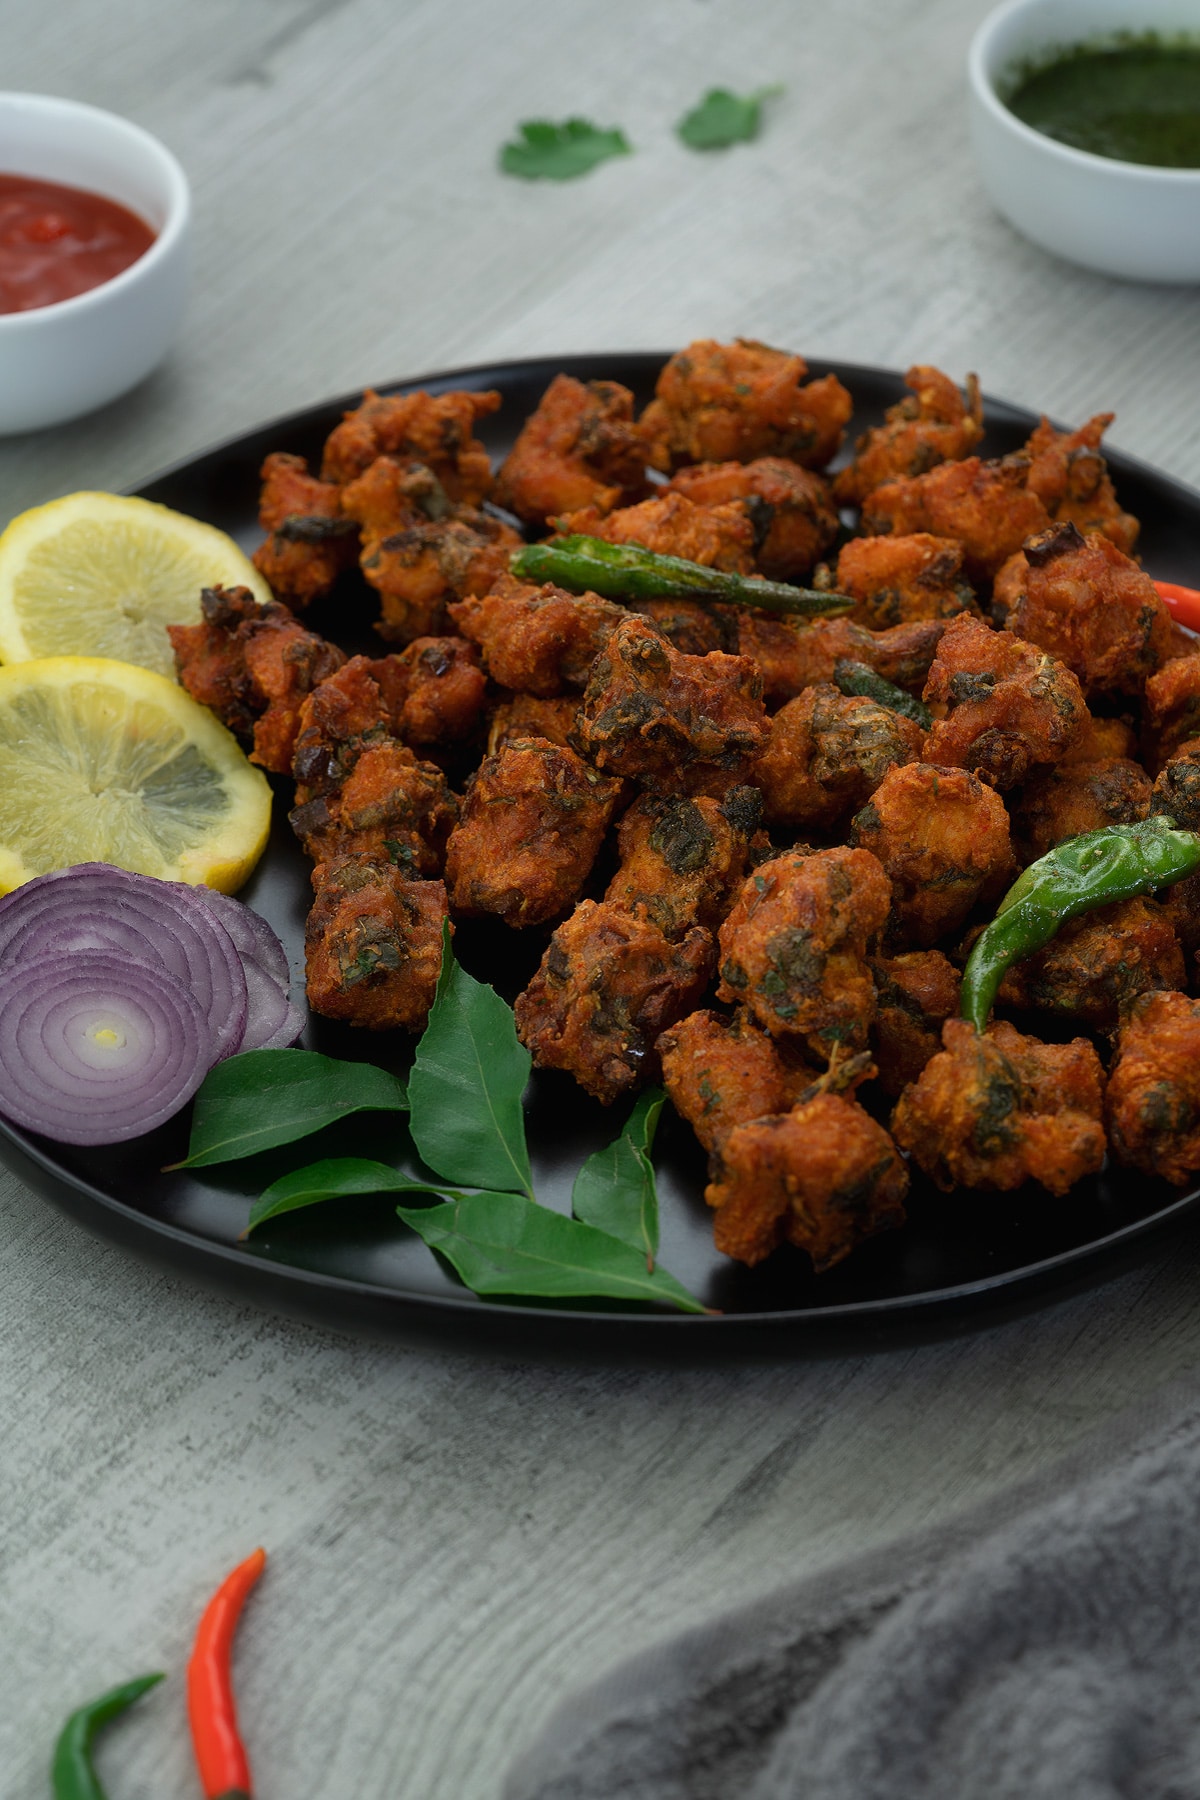
Chicken Pakora, also known as murgh bhaji or pakoda, is a crunchy and tasty Indian snack that's perfect for many occasions. Made with boneless chicken, a variety of spices, herbs, and chickpea flour, it's known for its rich, authentic flavor. This dish is ideal as a tea-time treat, a starter, or a party snack.
What You’ll Find On This Page
The appealing taste of Chicken Pakora comes from a combination of onions, green chilies, and chaat masala, making it a hit among both adults and kids. For a milder, kids-friendly version, you can leave out the green chilies. This gluten-free snack is not only easy to make but also adaptable, great for a quick evening snack or a flavorful side dish.
Explore More Crispy Fried Chicken Recipes:
- Classic Fried Chicken
- Chicken Fried Chicken
- Fried Chicken Tenders
- Oven Fried Chicken
- Oven Fried Chicken Tenders
- Korean Fried Chicken
- Parmesan Crusted Chicken
Ingredients and Substitutions Overview
Chicken Pakora is a delicious dish made with ingredients readily available at Indian grocery stores. Let's explore what you'll need to prepare this crispy treat at home.
Ingredients for Marination
- Turmeric Powder: Adds a bright yellow color and a mild, earthy taste. It also has anti-inflammatory properties and is good for health.
- Chili Powder: For a bit of heat, add regular chili powder. If you prefer something milder with a pop of color, go for Kashmiri chili powder, which gives a beautiful bright red look.
- Garam Masala Powder: A popular Indian spice mix that adds a warm, rich flavor, enhancing the overall taste of your dish beautifully.
- Fresh Herbs (Mint, Curry Leaves, Coriander): Mint helps cool down the spice and adds a unique, authentic taste. Curry leaves provide a burst of aroma and become crisp when fried, while coriander contributes its distinct sweet flavor.
Main Ingredients
- Chicken: Go for boneless chicken breasts or thighs as they're great at soaking up the flavors. Chop them into smaller pieces to cook faster and infuse more flavor from the marinade.
- Ginger Garlic Paste: This is a must in Indian cooking. It adds flavor, tenderizes the chicken, and removes any raw smell of the meat.
- Onion: It adds a bit of sweetness and a nice crunch, which helps balance out the strong spice flavors.
- Green Chili: This adds a fresh kick of heat that really spices up the pakora. For a kid-friendly version, you can easily leave it out.
- Oil: Choose a neutral oil since it can handle high heat well and doesn't interfere with the flavors of your pakora. Sunflower oil, vegetable oil, or canola oil are good choices. If you're looking for a unique flavor, peanut oil can add an interesting twist to the dish.
- Chaat Masala: This tangy and slightly spicy seasoning enhances the flavors of the entire dish. If you're out of chaat masala, dry mango powder or lemon juice are great substitutes. Both provide a similar tangy taste to your Chicken Pakora.
Ingredients for Crispy Coating
- Egg White: Acts as a binding agent, this helps the flour stick to the chicken better, so each piece gets a nice, even coating.
- Besan (Chickpea Flour): This gluten-free option adds a nutty flavor and a light, airy texture to the pakora, making them extra crunchy.
- Corn Starch: Essential for that crispy exterior, it helps form a crunchy crust while keeping the inside moist. You can also use cornflour for a similar effect if you prefer a finer texture.
How to Make Chicken Pakora at Home?
Ready to make some Chicken Pakora? We’ll begin with marinating the chicken, mixing the flours, and then deep frying to achieve that crispy and juicy texture. Optionally, we can temper the fried pakoras for an extra flavor boost. Follow along with our step-by-step photos and video to master this crispy, flavorful snack right in your kitchen. Let’s get started!

Explore a Variety of Fried Chicken Recipes:

Chicken Pakora (Chicken Pakoda)
Ingredients
For Marination
- 1.2 lb Chicken Breast, bite-sized pieces
- ½ tsp Turmeric Powder
- 1 tsp Garam Masala Powder
- 2 tsp Chili Powder
- 2 tsp Ginger Garlic Paste
- 3 Green Chili, chopped
- ¼ cup Onion, chopped
- 1 sprig Curry Leaves, chopped
- ¼ cup Coriander Leaves
- ¼ cup Mint Leaves
- Salt, to taste
- ¼ cup Chickpea Flour, Besan
- 1 tbsp Corn Starch
- 1 Egg White
For Frying Chicken
- Oil, for deep frying
For Tempering Chicken Pakora
- 5 Green Chili, slit
- 1 sprig Curry Leaves, chopped
- 1 tsp Chaat Masala
Instructions
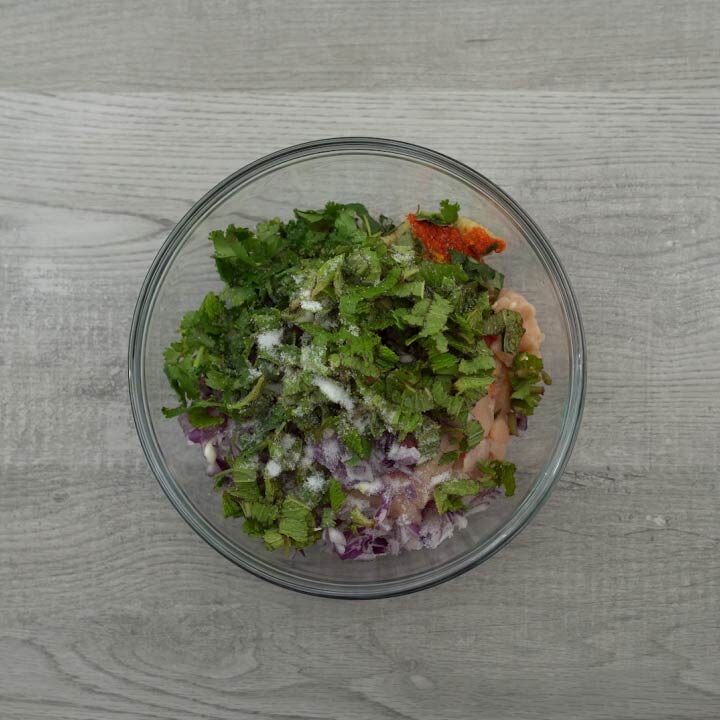
Marinating Chicken
- In a bowl, combine chicken, turmeric powder, garam masala powder, chili powder, ginger garlic paste, salt, green chili, onion, coriander leaves, curry leaves, and mint leaves.

- Stir everything together until well combined, cover the bowl, and let it sit for at least 15 minutes to allow the flavors to meld. This resting period helps the chicken absorb the spices and herbs, enhancing the taste of your pakora.

Mixing Flour
- After the chicken has marinated for 15 minutes, uncover the bowl and add egg white, chickpea flour, and cornstarch. Mix everything well to ensure each piece of chicken is evenly coated. It’s important to fry the chicken immediately after this step to achieve the best texture and crispiness.

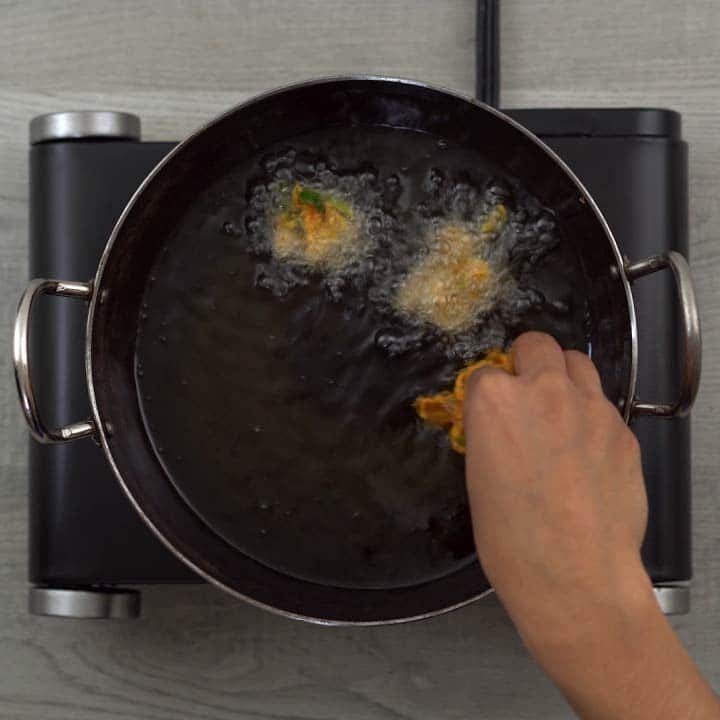
Frying the Chicken
- Heat oil in a deep pan over medium-high heat until it’s very hot. Carefully add the marinated chicken pieces one at a time to avoid splashes. After adding the chicken, adjust the heat to medium. This helps cook the chicken evenly without burning the exterior.
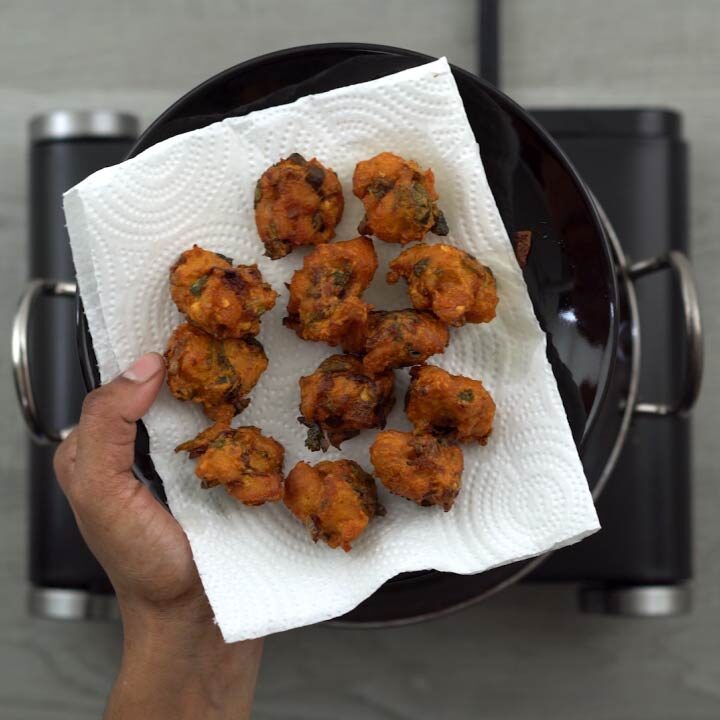
- Fry the chicken until each piece is golden brown and crispy. Remove the pieces from the oil and let them drain on a rack or paper towels. Continue this process until all the marinated chicken has been fried.
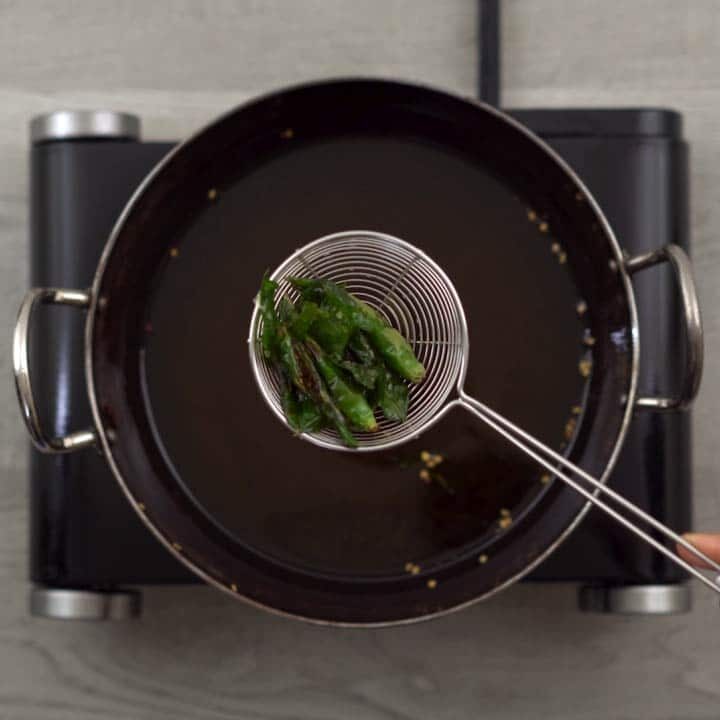
Tempering Chicken Pakora (Optional)
- In the same pan, carefully fry a sprig of curry leaves and sliced green chili until they are crispy. Be cautious as the oil may splatter. Once crispy, remove them from the pan and set aside.
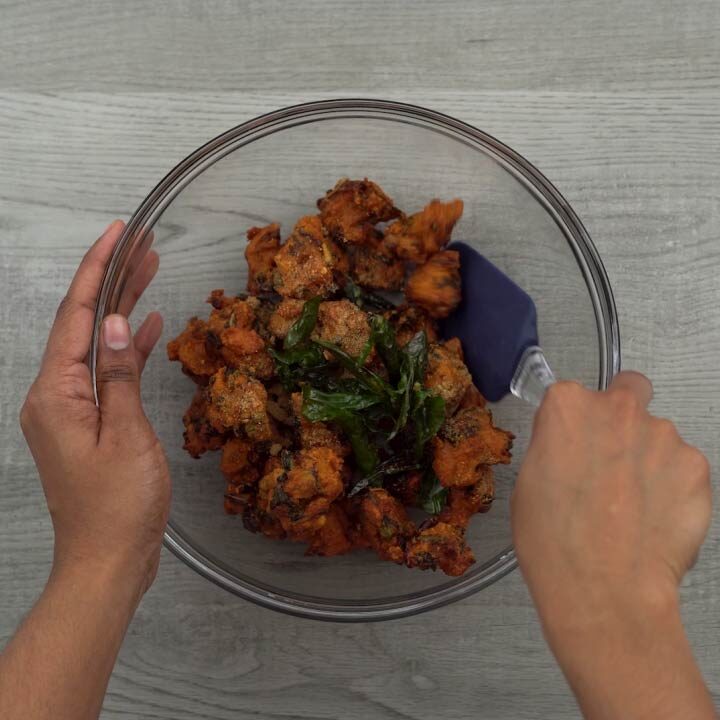
- In a mixing bowl, combine the fried chicken with chaat masala, the crispy curry leaves, and green chili. Toss everything together to distribute the flavors evenly. Your delicious Chicken Pakora is now ready to be enjoyed.
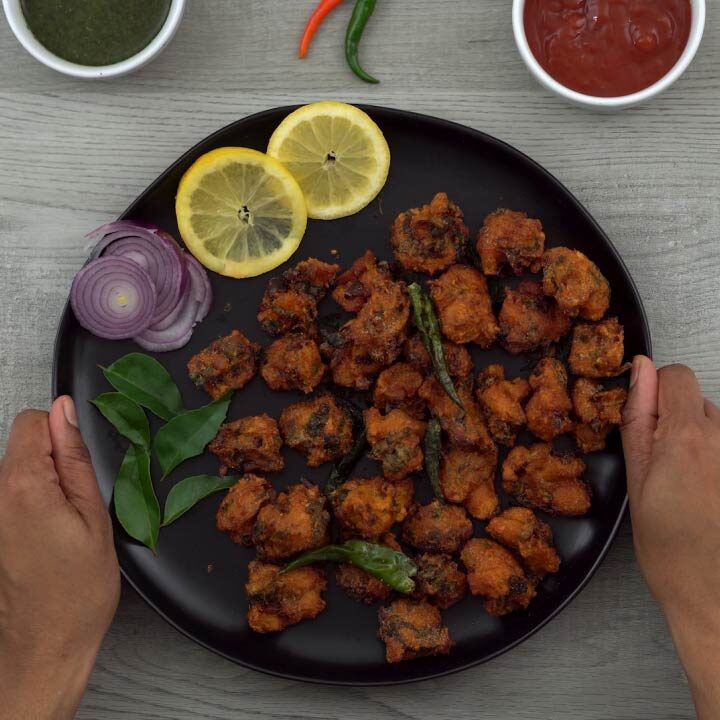
Serving
- Enjoy these Chicken Pakoras with a hot cup of tea or coffee for the perfect evening snack, or serve them as a tasty starter for any meal. For more pairing ideas, check out our Serving Suggestions section below.
Recipe Video
Chef's Notes and Tips
- Make it Crispy: For the crunchiest Chicken Pakora, mix chickpea flour (besan) with corn starch and a bit of rice flour. Add egg white just before frying to achieve that perfect crispy texture. Enjoy them hot and fresh, as they tend to lose some of their crispiness as they cool.
- Proper Oil Temperature: Use a thermometer to ensure the oil is around 350°F (177°C) before frying. This temperature is ideal for achieving a golden, crispy exterior without the pakoras soaking up too much oil. If you don't have a thermometer, you can test the oil by adding a slice of bread; if it turns golden in about 30 seconds, the oil is ready for frying.
- Batch Frying: Fry the pakoras in small batches to avoid overcrowding the pan. This approach helps keep the oil temperature stable and allows each piece to cook evenly and stay crispy.
- Draining Excess Oil: Instead of draining on paper towels, place the fried pakoras on a wire rack over a baking sheet. This method allows air to circulate, preventing the bottoms from becoming soggy.
- Final Touch: Just before serving, sprinkle chaat masala over the pakoras to enhance their flavor and aroma.
- Serving Creatively: To maintain crispiness, especially at gatherings, keep the pakoras in a warm oven (about 200°F or 93°C) until ready to serve.
- Leftover Reheat: If you have leftovers, reheat them in an oven or air fryer instead of a microwave. This approach helps bring back the crispiness more effectively.
Nutrition Info
Disclaimer
We're not nutrition experts, and the nutritional information provided is an estimate. Please use it as a guide. For precise details, it's best to consult a professional. To learn more, please view our Detailed Disclaimers.
Serving Suggestions
Chicken Pakora is an excellent snack or starter and can also be paired with a main course meal. Here are my top suggestions for enjoying this crispy, classic dish.
- On its own with Dips: Enjoy Chicken Pakora with classic dips like mint chutney, coriander and mango chutney, tamarind or spicy chili sauce for a simple, yet satisfying snack. For something beyond the traditional, try pairing it with spicy garlic aioli, sweet chili sauce, or a creamy yogurt dip with herbs.
- With Masala Chai: Pair it with a hot cup of masala chai for a perfect snack during your tea break.
- Kid-Friendly Starter: It’s a great choice for kids and works well as a starter at parties, gatherings, or potlucks.
- Non-Veg Platter: For a lavish non-vegetarian platter, serve Chicken Pakora alongside Chicken Biryani, raita, and cucumber salad.
- Combo Meal: Create a hearty combo meal by pairing it with steaming white rice, sambar, rasam, and poppadom for a full and satisfying dining experience.
Storage Suggestions
Chicken Pakora tastes best when served hot, as it really brings out its wonderful crunchiness. If you have leftovers, try to enjoy them within a day to maintain that crisp texture. Just remember to reheat them well before serving to bring back as much of that fresh-from-the-kitchen flavor as possible!
Variations of Chicken Pakora
Chicken Pakora is a beloved snack in India, with each region adding its own unique touch to this versatile dish. Here’s a closer look at some of the variations that make Chicken Pakora so special:
International Variations
- Street-Style Version (North India): In North India, chaat masala is sprinkled over the crispy chicken pieces for an extra burst of flavor. This popular seasoning mix is a staple in many snack dishes across the region.
- Southern Twist: Down in South India, the addition of curry leaves, green chilies, and fried onions before serving not only enhances the flavor but also gives Chicken Pakora a distinctive southern flavor.
- Oven-Baked Alternative: If you're looking for a healthier choice, you can bake the marinated chicken at 350°F for 15-20 minutes, flipping it halfway through to ensure even cooking. A quick broil at the end helps achieve a crispy finish.
- Indo-Chinese Fusion: By mixing Chinese sauces like soy and chili into the marinade, this version introduces an exciting fusion of flavors, blending traditional Indian spices with the bold tastes of Chinese cuisine.
Reginal Variations
- Hyderabadi/Andhra-Style: Known for its bold spiciness, this version uses a generous amount of red chili powder or fresh green chilies to bring the heat.
- Bengali Chicken Pakora: This take follows the basic recipe but includes ajwain (carom seeds) during marination, adding a unique and aromatic flavor that sets it apart.
- Laccha Chicken Pakora: This visually appealing version features pakoras coated in a way that mimics coiled layers, making them not only tasty but also fun to look at.
Leave a Review